There are many ways to protect your artwork in a picture frame, such as purchasing acid-free mat board and glass for picture frames that has UV protection. Though that’s often enough protection for most prints and other reproducible works of art, you can add a dust cover for a little bit more protection.
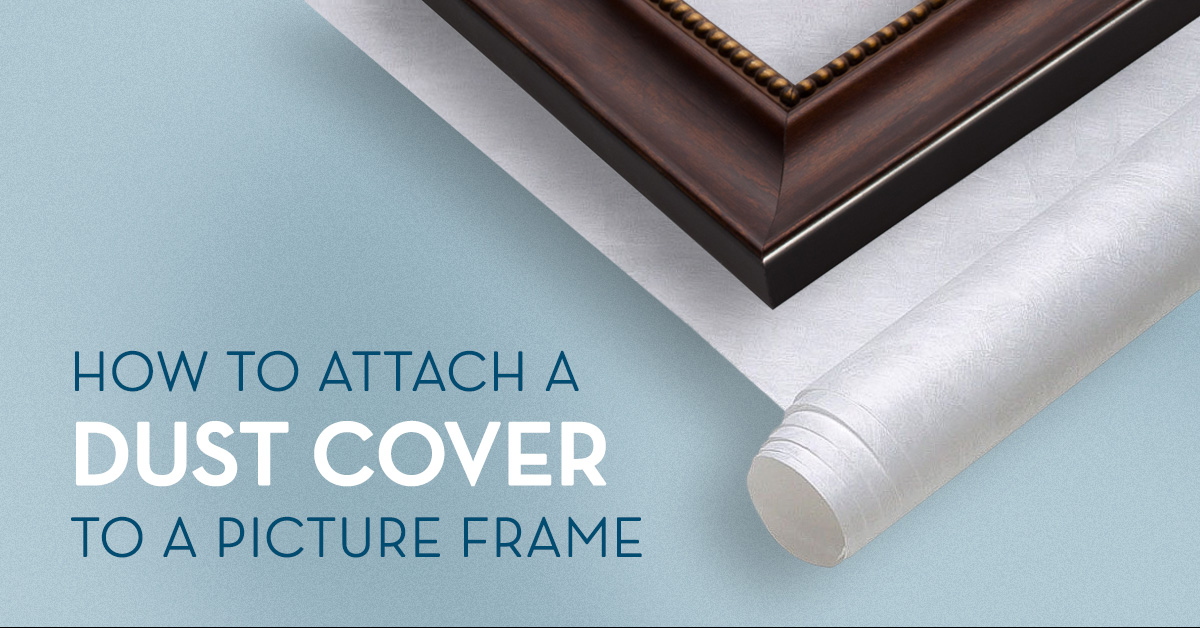
What Is a Dust Cover?
A dust cover, also called backing paper, is a thin sheet of paper attached to the back of picture frames. Professional picture frames will often refer to using this framing material as a “dust seal,” as the adhered paper prevents dust from entering the picture frame.
Dust covers do more than stop dust and other air pollutants from entering the picture frame package. They also prevent bugs from making a snack of your artwork as well as keep the humidity levels from fluctuating too much within the frame, both of which can permanently damage artwork. The dust cover also serves an aesthetic purpose: it simply makes the picture frame look neater and cleaner.
Choosing a Dust Cover
Frame Destination carries three types of backing paper: standard Kraft backing paper from Scotch™, Tyvek acid-free backing paper and Lineco acid-free backing paper. Standard Kraft paper is one of the most common types of backing paper used in non-conservation framing projects. As a standard paper, it contains lignin; over time, it may become brittle and tear more easily.
Tyvek is actually made from extruded polyethylene, while the Lineco dust cover is a light gray acid-free paper that has also been buffered with 3% calcium carbonate. Both backing papers are acid-free, meaning that they can be used for conservation-style picture framing. They are also puncture-resistant but breathable, additional benefits for those who are framing artwork for the long term.
Attaching a Dust Cover in Six Steps
To attach backing paper to a picture frame, you’ll need just a few items:
- Dust cover
- Adhesive, such as ATG tape or liquid PVA glue
- Precision knife or dust cover trimmer
Step 1: Cut a section of backing paper slightly larger than the size of the frame. Set aside.
Step 2: Place the complete frame package face down. If using ATG tape, apply a continuous strip of tape all around the back of the frame, approximately 1/8-inch from the edge. If using PVA glue, apply a thin bead of glue all around the edge. Using a folded paper towel or your finger, spread the glue evenly, ensuring that you are not getting glue on the visible, outside edge of the frame.
Step 3: Place the backing paper on a flat surface. Pick up the frame and place it face up on the backing paper. Press firmly in place.
Step 5: Turn the frame over and inspect the edges of the frame to ensure the paper has adhered, firmly pressing along the areas in which the paper has not properly been attached.
Step 6: Place the frame back on the table face up and, using the precision knife, carefully cut away at the excess backing paper. Alternatively, use the dust cover trimmer. Make sure that none of the dust cover is visible from the front of the frame.
Other Methods to Attach Backing Paper
While there are some hard and fast rules for picture framing, there are numerous acceptable ways to attach a dust cover. Some framers dampen Kraft backing paper with water before attaching it to the frame so that it will shrink as it dries, resulting in a very taut seal.
However, Chris Paschke, a certified picture framer (CPF, GCF), warns against this very practice as potentially damaging, explaining that water should never be used on a paper backing as "it could shrink unevenly and damage or break a narrow frame. Moisture should always be kept away from art and framing."
Another method to attach a dust cover is to lay the frame face down and place the dust cover on top of it. With this method, you first attach one corner of the oversize backing paper to a corner of the frame; this allows you to pull the paper taut across it in both directions.
For my personal photography, I do not have to be concerned about the appearance of the back. Custom framers, of course, do have to be concerned, since they will be handing the final picture frame to their customer.
Whichever method you choose, your end result will be a picture frame that looks as though it came from a custom frame shop. Most importantly, you will have given your art an extra layer of protection that will safeguard it for years to come.