You don’t have to be a museum professional to use a museum mounting kit. Professional artists and photographers often prefer this method when mounting their original pieces for clients. Other examples are collectors who purchased artworks at an auction, movie buffs who want to mount a limited-edition poster, and sports fans who scored keepsake tickets to a championship game. In other words, anyone in possession of a valuable piece of art is qualified to preserve that art in the most effective way possible.
Even though I fit into the professional artist category, I’m also someone who has a few boxes full of sentimentally valuable items tucked away in a closet. One box in particular holds items I fully intend to mount and display ... someday.
Someday Finally Came
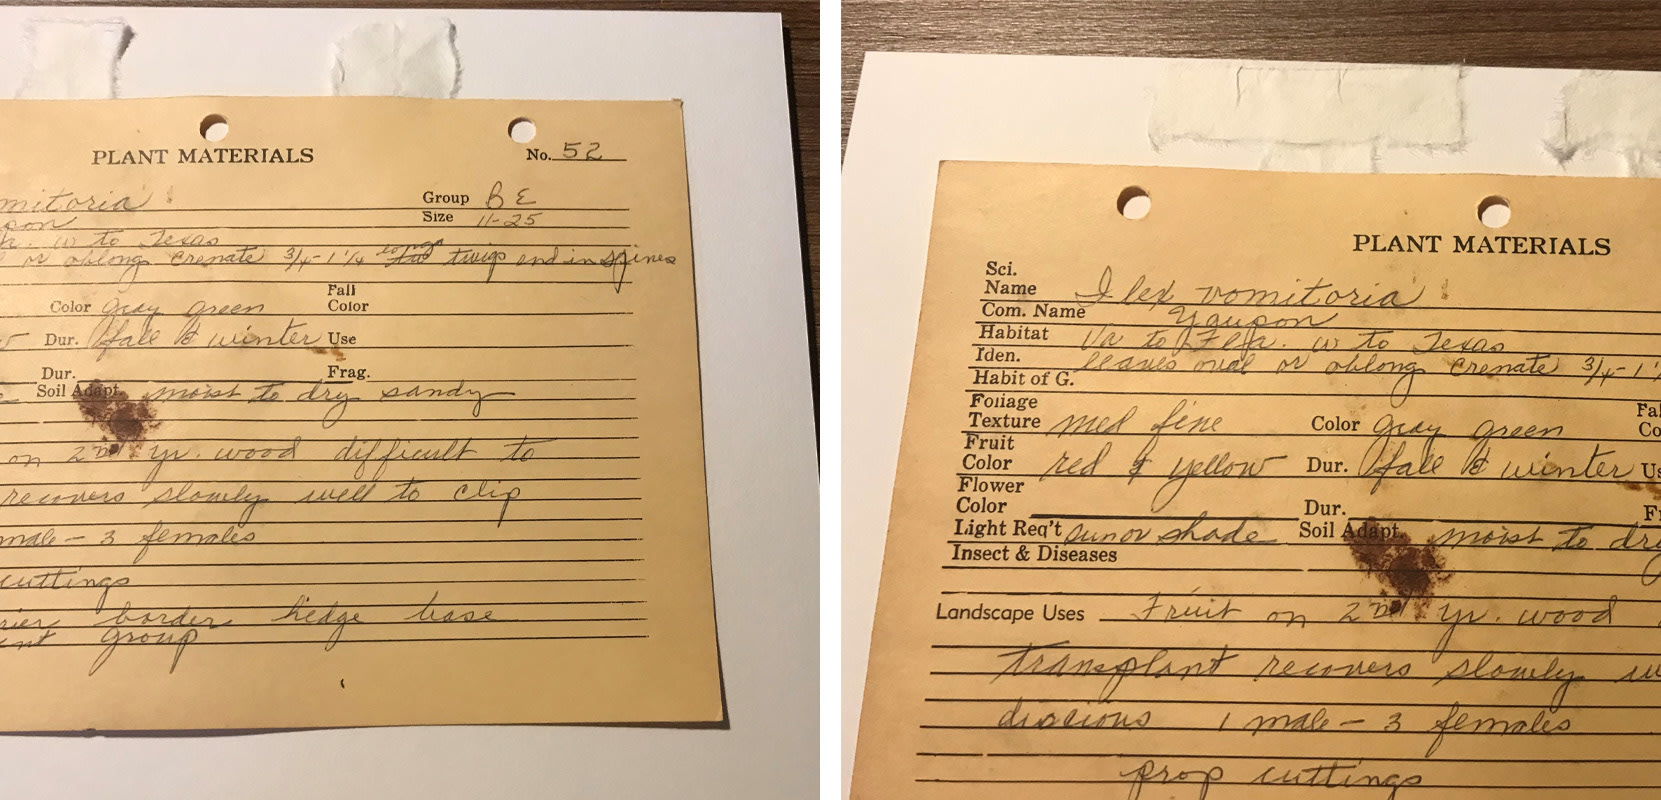
In this blog post, I’m focusing on how to use our Museum Mounting Kit to mount my grandfather’s hand-written plant identification cards. I wrote about these cards in a blog on preservation a few years ago. They’ve been safely stored inside an archival photo storage box for the last six years.
Since I wrote the article, we’ve purchased a new home and finally have the wall space to frame and display some of these carefully crafted plant ID cards — a precious gift to someone like me who loves plants and makes a living illustrating them.
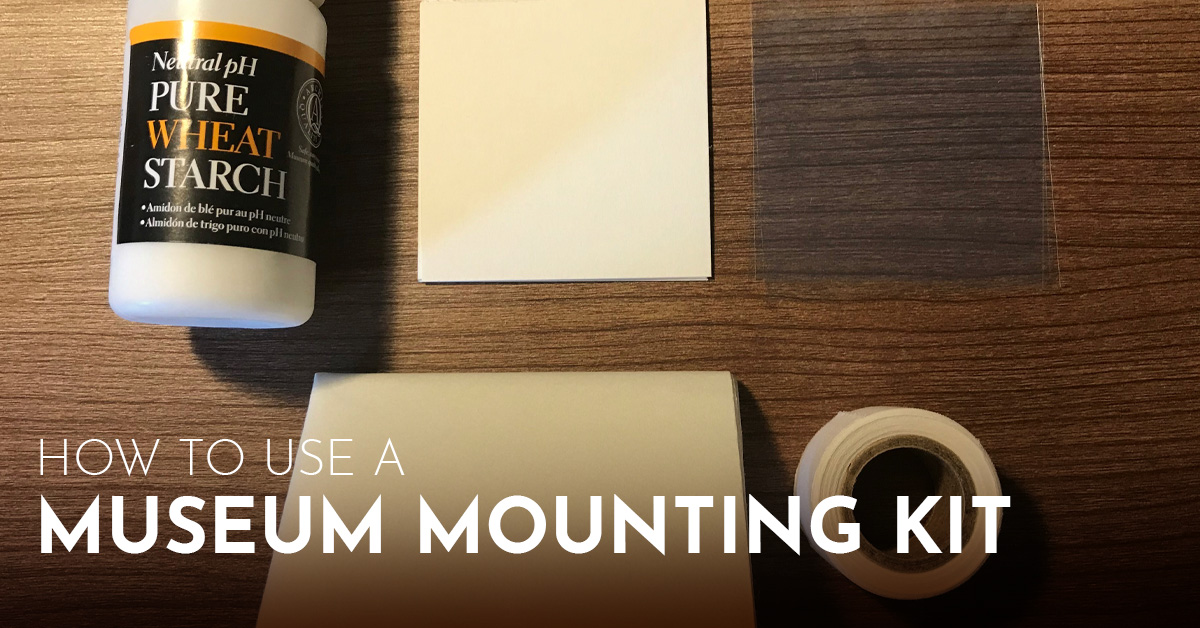
Our Museum Mounting Kit is manufactured by Lineco and it contains the same materials used by museum professionals to mount valuable pieces of art. The kit comes with full, detailed instructions. But I thought it might be helpful to give you a preview, so I’ll share the kit components and what can be done with them before you spend any money.
Each Kit Contains:
- Pure wheat starch (powder)
- Japanese hinging paper
- Blotting paper
- Mylar® separation sheets
- Linen tape for hinging the window mat to the backboard

Additional Supplies You'll Need:
- Small glass jar
- Water (preferably distilled, filtered, or deionized)
- Spoon or wooden stirring stick
- Standard paintbrush (can be inexpensive, but should be new vs. old and frayed or it might blend paint onto the hinges)
- Fractional ruler and 2B graphite pencil (optional)
- Small, fine-mesh strainer (optional)
Tips Before You Begin:
- Get all your mounting materials ready first: Make the wheat starch adhesive and tear the Japanese hinging paper in your desired size.
- Position your artwork using a fractional ruler and pencil to mark dimensions, if necessary, before beginning the mounting process.
Making the Wheat Starch Adhesive
Wheat starch powder is used to make wheat starch paste, a special type of glue used for adhering paper to artwork. It is a traditional, archival, and non-toxic product used in picture framing. You can make wheat starch paste on a stovetop; I used a small glass jar in the microwave for this project.
Per Lineco’s instructions, I used six teaspoons of water per one teaspoon of wheat starch. Add the water to a container — in my case a small glass jar — and slowly add the wheat starch, mixing until completely blended. Microwave on medium-high uncovered, checking every 10 seconds until the paste thickens. It took about 40 seconds for mine. Cover the paste and let stand until it cools into a semi-solid mass. You can double or triple the amount if you have a lot of mounting to do, but I had plenty for this mounting project.

The Lineco instructions say to strain through a fine-mesh strainer. Since I didn’t have one available, I just diluted the paste with a little water when I was making the hinges. To do it the proper way, you can buy a small fine-mesh strainer at a local cooking store.
Store the paste in a cool, dark place and discard within two to five days or when you detect a sour smell. My paste lasted a solid week, but I live in a cool climate (western North Carolina) and kept it in our basement.
Hinging the Plant ID Cards
I decided to frame three of the Ilex (holly) genus plant ID cards since holly is one of my favorite plants. For this demonstration, I chose the Ilex vomitoria (Yaupon Holly), a beautiful southeastern tree with bright red berries, which are an important food source for birds. Bees produce a delicious honey from its flowers and the leaves makes a type of caffeinated tea that happens to be the only naturally caffeinated herbal tea commercially harvested in North America.
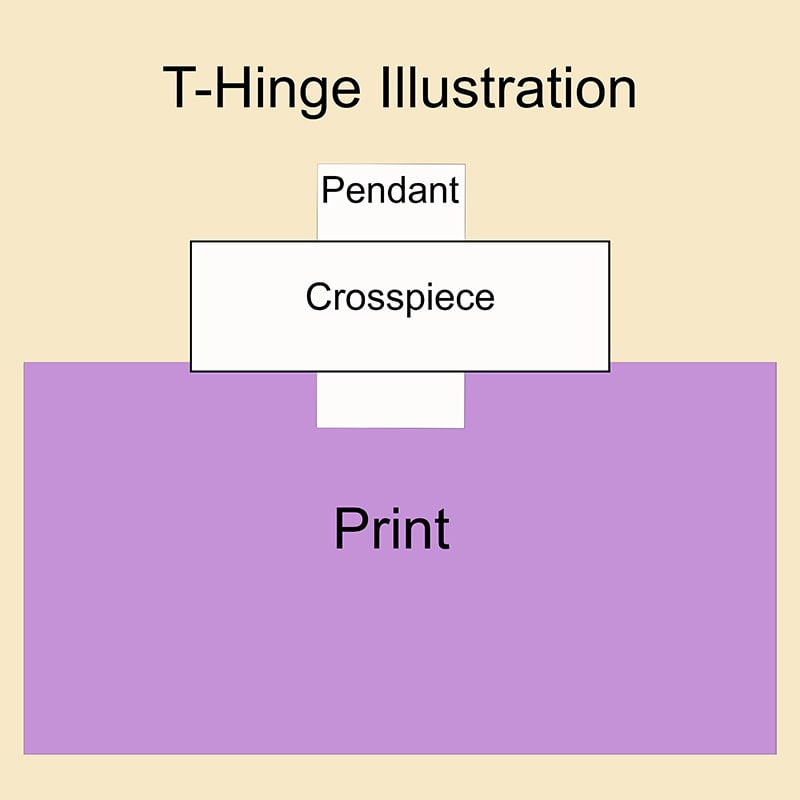
The hinges for this project were created using Japanese hinging paper, which is a high-quality paper made from mulberry tree fibers. I used a T-hinge to mount the plant ID card to the mount board.
T-hinges are used when the hinge can be hidden by a window mat. They are among the easier art mounting techniques. The trick is to line up your artwork properly on the mount board. I recommend using a fractional ruler to get a proper alignment unless you are good at eyeballing dimensions.
Below is an illustration of a proper T-hinge configuration. The pendant hinge is secured to the print first, and then strengthened by the application of a crosspiece, making a hinge shaped like the letter “T.” The entire T-hinge is then covered by a window mat board.
Wearing gloves to protect my mounting materials from the oils on my hands, I tore the Japanese hinging paper into (loosely) pre-measured strips. My aim was to place them to the left and right of the “Plant Materials” card title to avoid the hole punches. I typically prefer to cut my hinges with scissors; however, Lineco states that tearing the Japanese paper results in a feathered look that makes the hinges less visible. I’m not sure it matters because they are covered, but I tried it for this blog post.
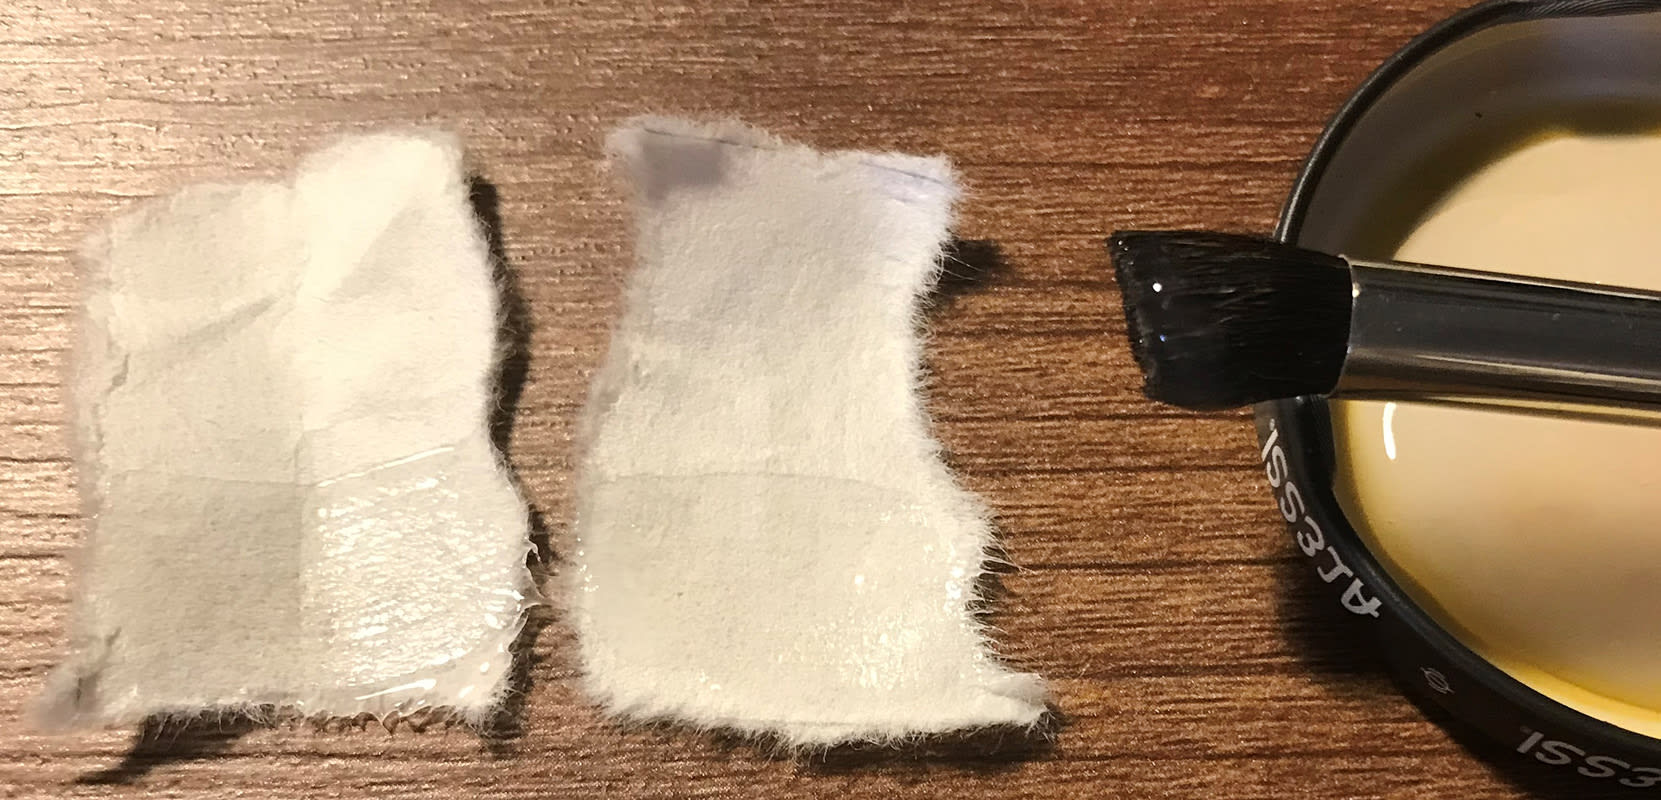
Using a standard (inexpensive) fine art paint brush, I applied the wheat starch adhesive to the back of the pendant hinges and let them dry for about five minutes.
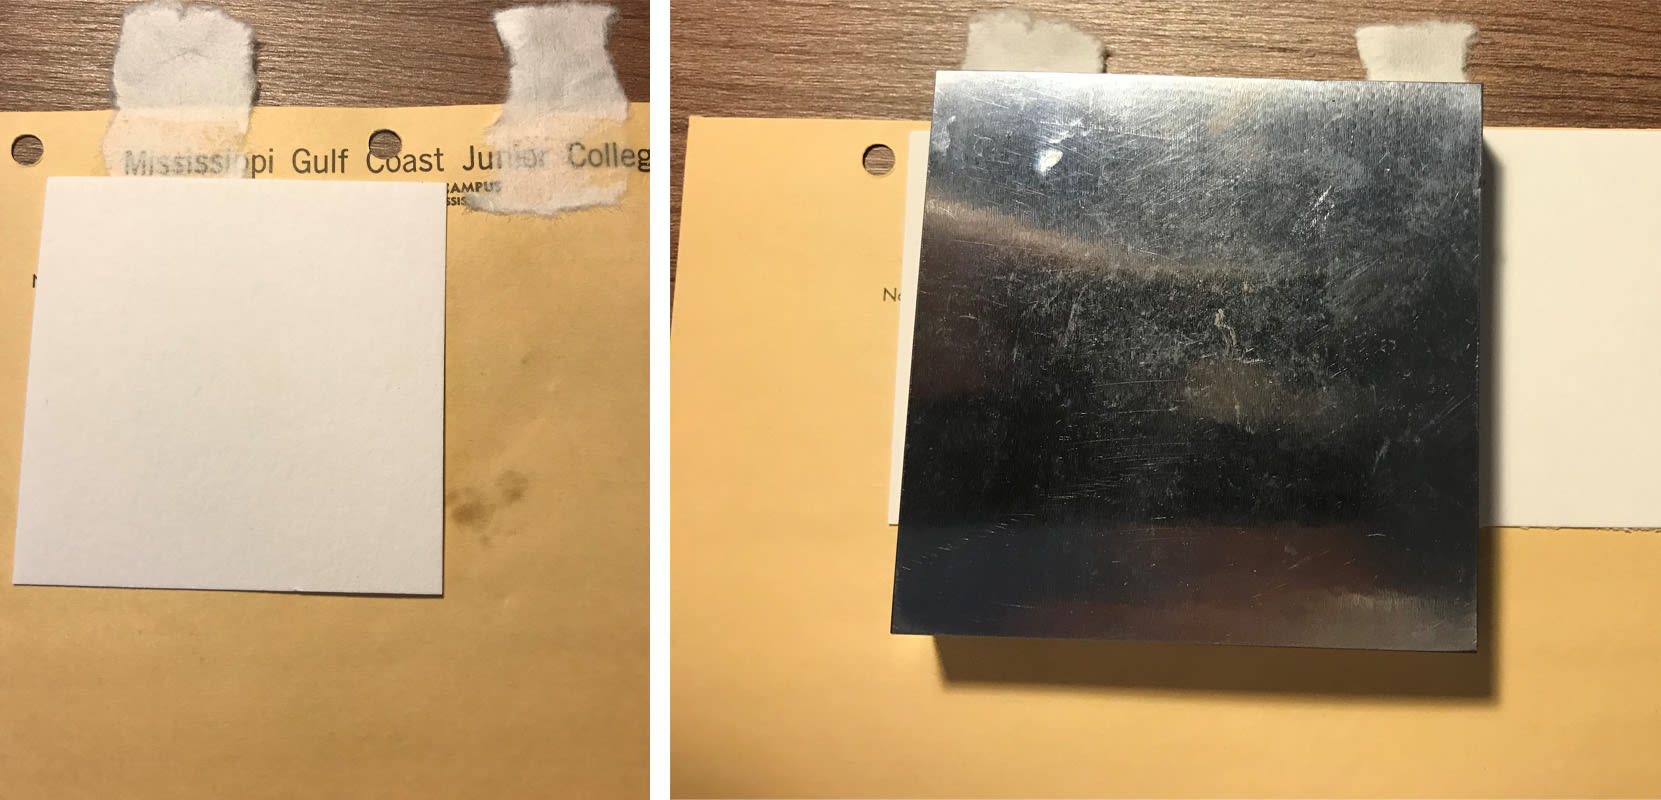
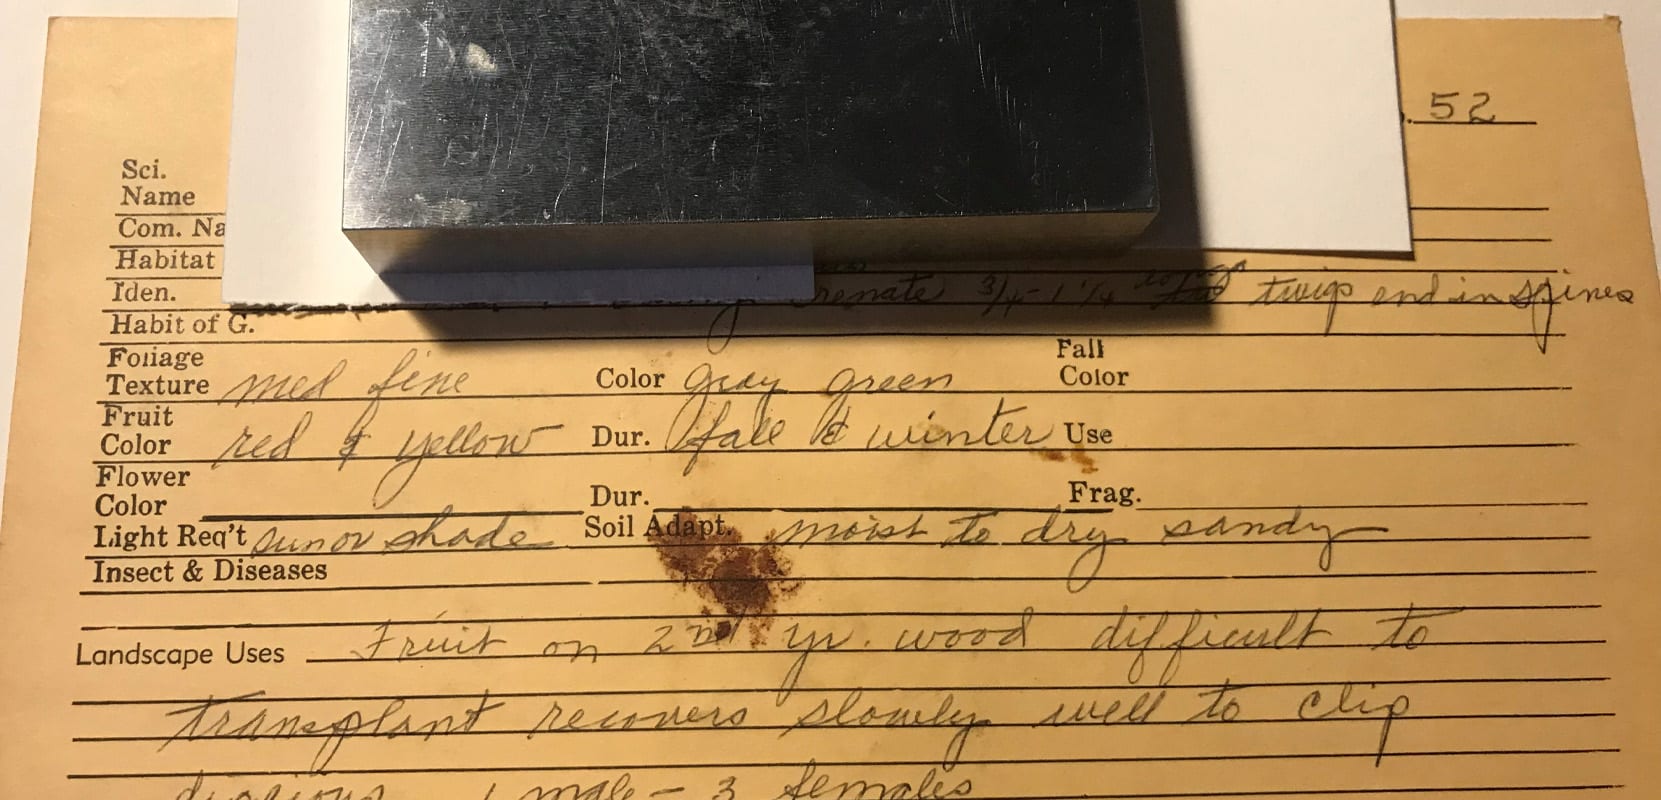
After the pendants finished drying, I affixed them adhesive side down to the back of the plant ID card, using the blotting paper to soak up extra adhesive. Keeping the blotting paper over the pendant hinges, I placed a metal weight on top and allowed them to dry for approximately 30 minutes.
When the pendants finished drying, I applied wheat starch paste to the back of the crosspieces and laid them over the secured pendant hinges, using the blotting paper to soak up any extra adhesive. I again placed the metal weight on top of the crosspiece during a 30-minute drying period.
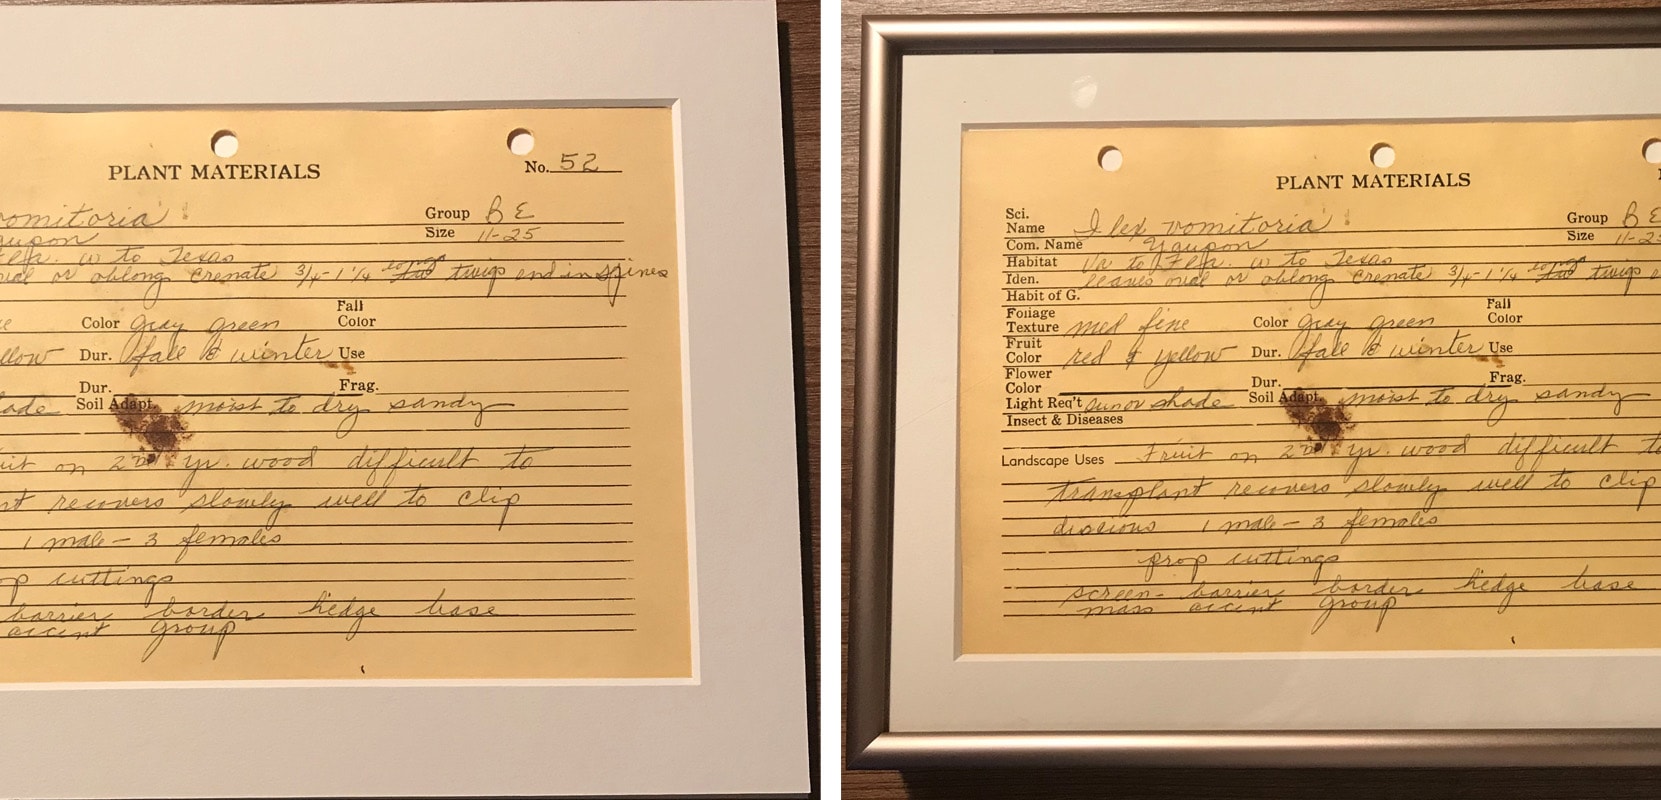
Once it was mounted and dried, I added the window mat and framed it. I plan to frame the rest of the Ilex genus plant ID cards and display them an area of our home where I can enjoy memories of my grandfather daily.
NOTE: The Lineco instructions included in the Museum Mounting Kit describe how to use a V-hinge. I did not use a V-hinge for this mounting application, so the Mylar® separation sheets weren’t needed. Also, because this image was so small (8½” W x 5½” H), I didn’t think the linen tape for hinging the window mat to the backboard was necessary. I’d suggest using it for a larger image though.
About the Frames and Components
All frames are metal Profile 15 in Frosted Bronze. I used our acid free 1/8" foam board as backer and UV Filter Acrylic 1/10” as glazing. For the mat boards, I used Crescent 4-Ply Ragmat Museum mat board in Archival Mist.
Now It’s Your Turn!
Which vintage keepsakes of yours deserve to be displayed and enjoyed? I hope this article inspires you to give it a try. Like I said earlier, the instructions included within our Museum Mounting Kit are much more detailed. If you have any questions along the way, please feel free to reach out to customer service at 972-479-1188 or info@framedestination.com.
Last Updated September 22, 2023
Written by Joely Rogers
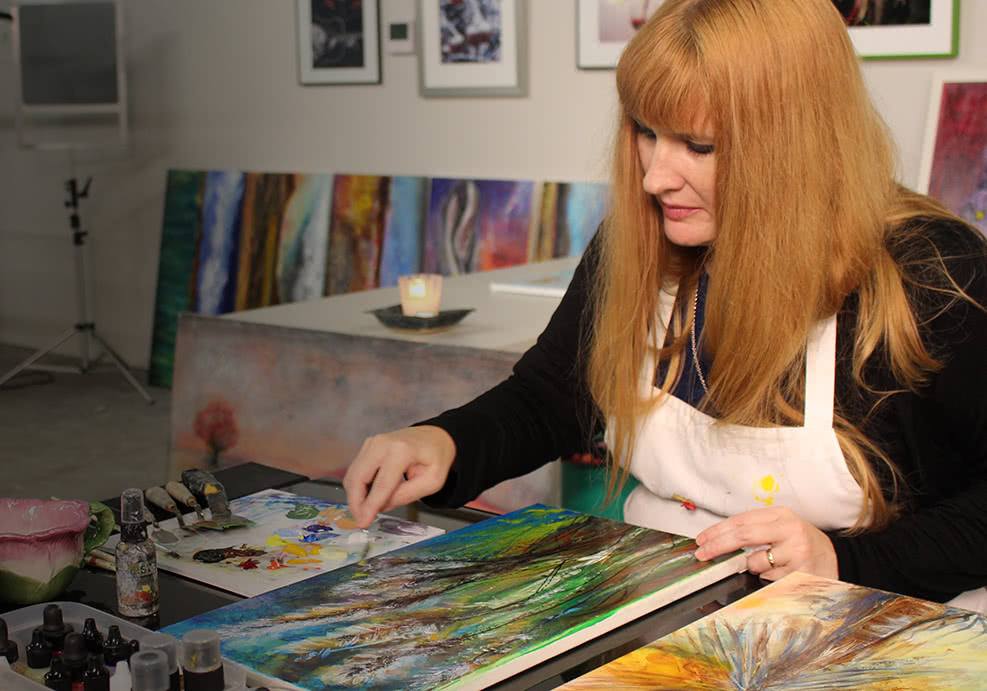 Joely C. Rogers is an artist/illustrator and writer living in the mountains of western North Carolina. She has professional training in both natural science illustration and the culinary arts, as well as graduate academic training in education, sociolinguistics, and folklore/storytelling. She is a Blue Ridge Naturalist candidate with the North Carolina Arboretum and a member of the Guild of Natural Science Illustrators.