Float-mounting is a mounting technique where the edges of the artwork are left uncovered. When mounted this way, the artwork appears to be floating within the frame or mat board window. Float-mounting is normally used when the image goes all the way to the edge of paper and you don’t want any of it covered. It’s also a great way to show off paper with deckled or torn edges.
How to Float Mount Your Artwork
1. Measure Your Art, Obtaining the Width & Height
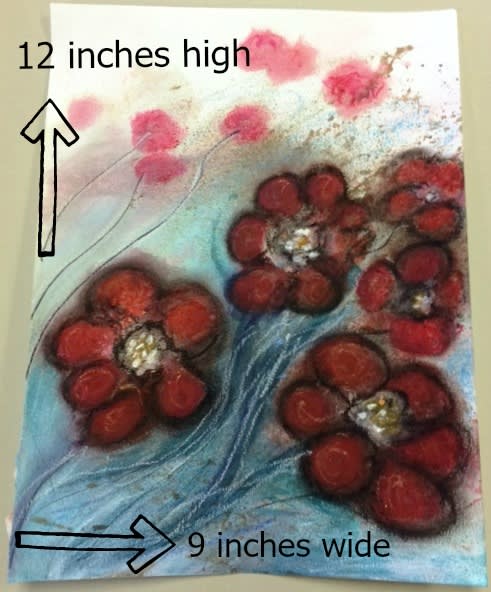
Determine how much visible area you want around the matboard and then calculate the uncut matboard size.
A common question I get with regards to float-mounting is “How much space should be left around the art?” There’s no right or wrong answer, but typically I like between 1/2" – 2 inches of space. For this image, I decided not to use a mat. I went with a 2-inch visible border around the art using an uncut blank mat board as the backing.
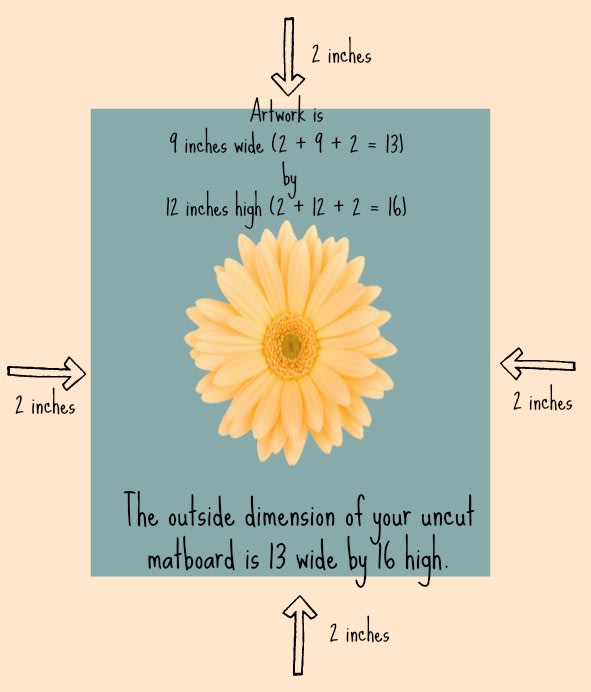
2. Calculate the Outside Dimension
Image sizes are normally expressed as width by height (width” x height”). The “sign stands for inches. Keep in mind; however, that you are dealing with four sides. *Remember to double whatever number you are adding to each side.
For example:
Artwork size = 9” x 12”
Desired visible area = 2 inches
3. Pick Out Uncut Mat
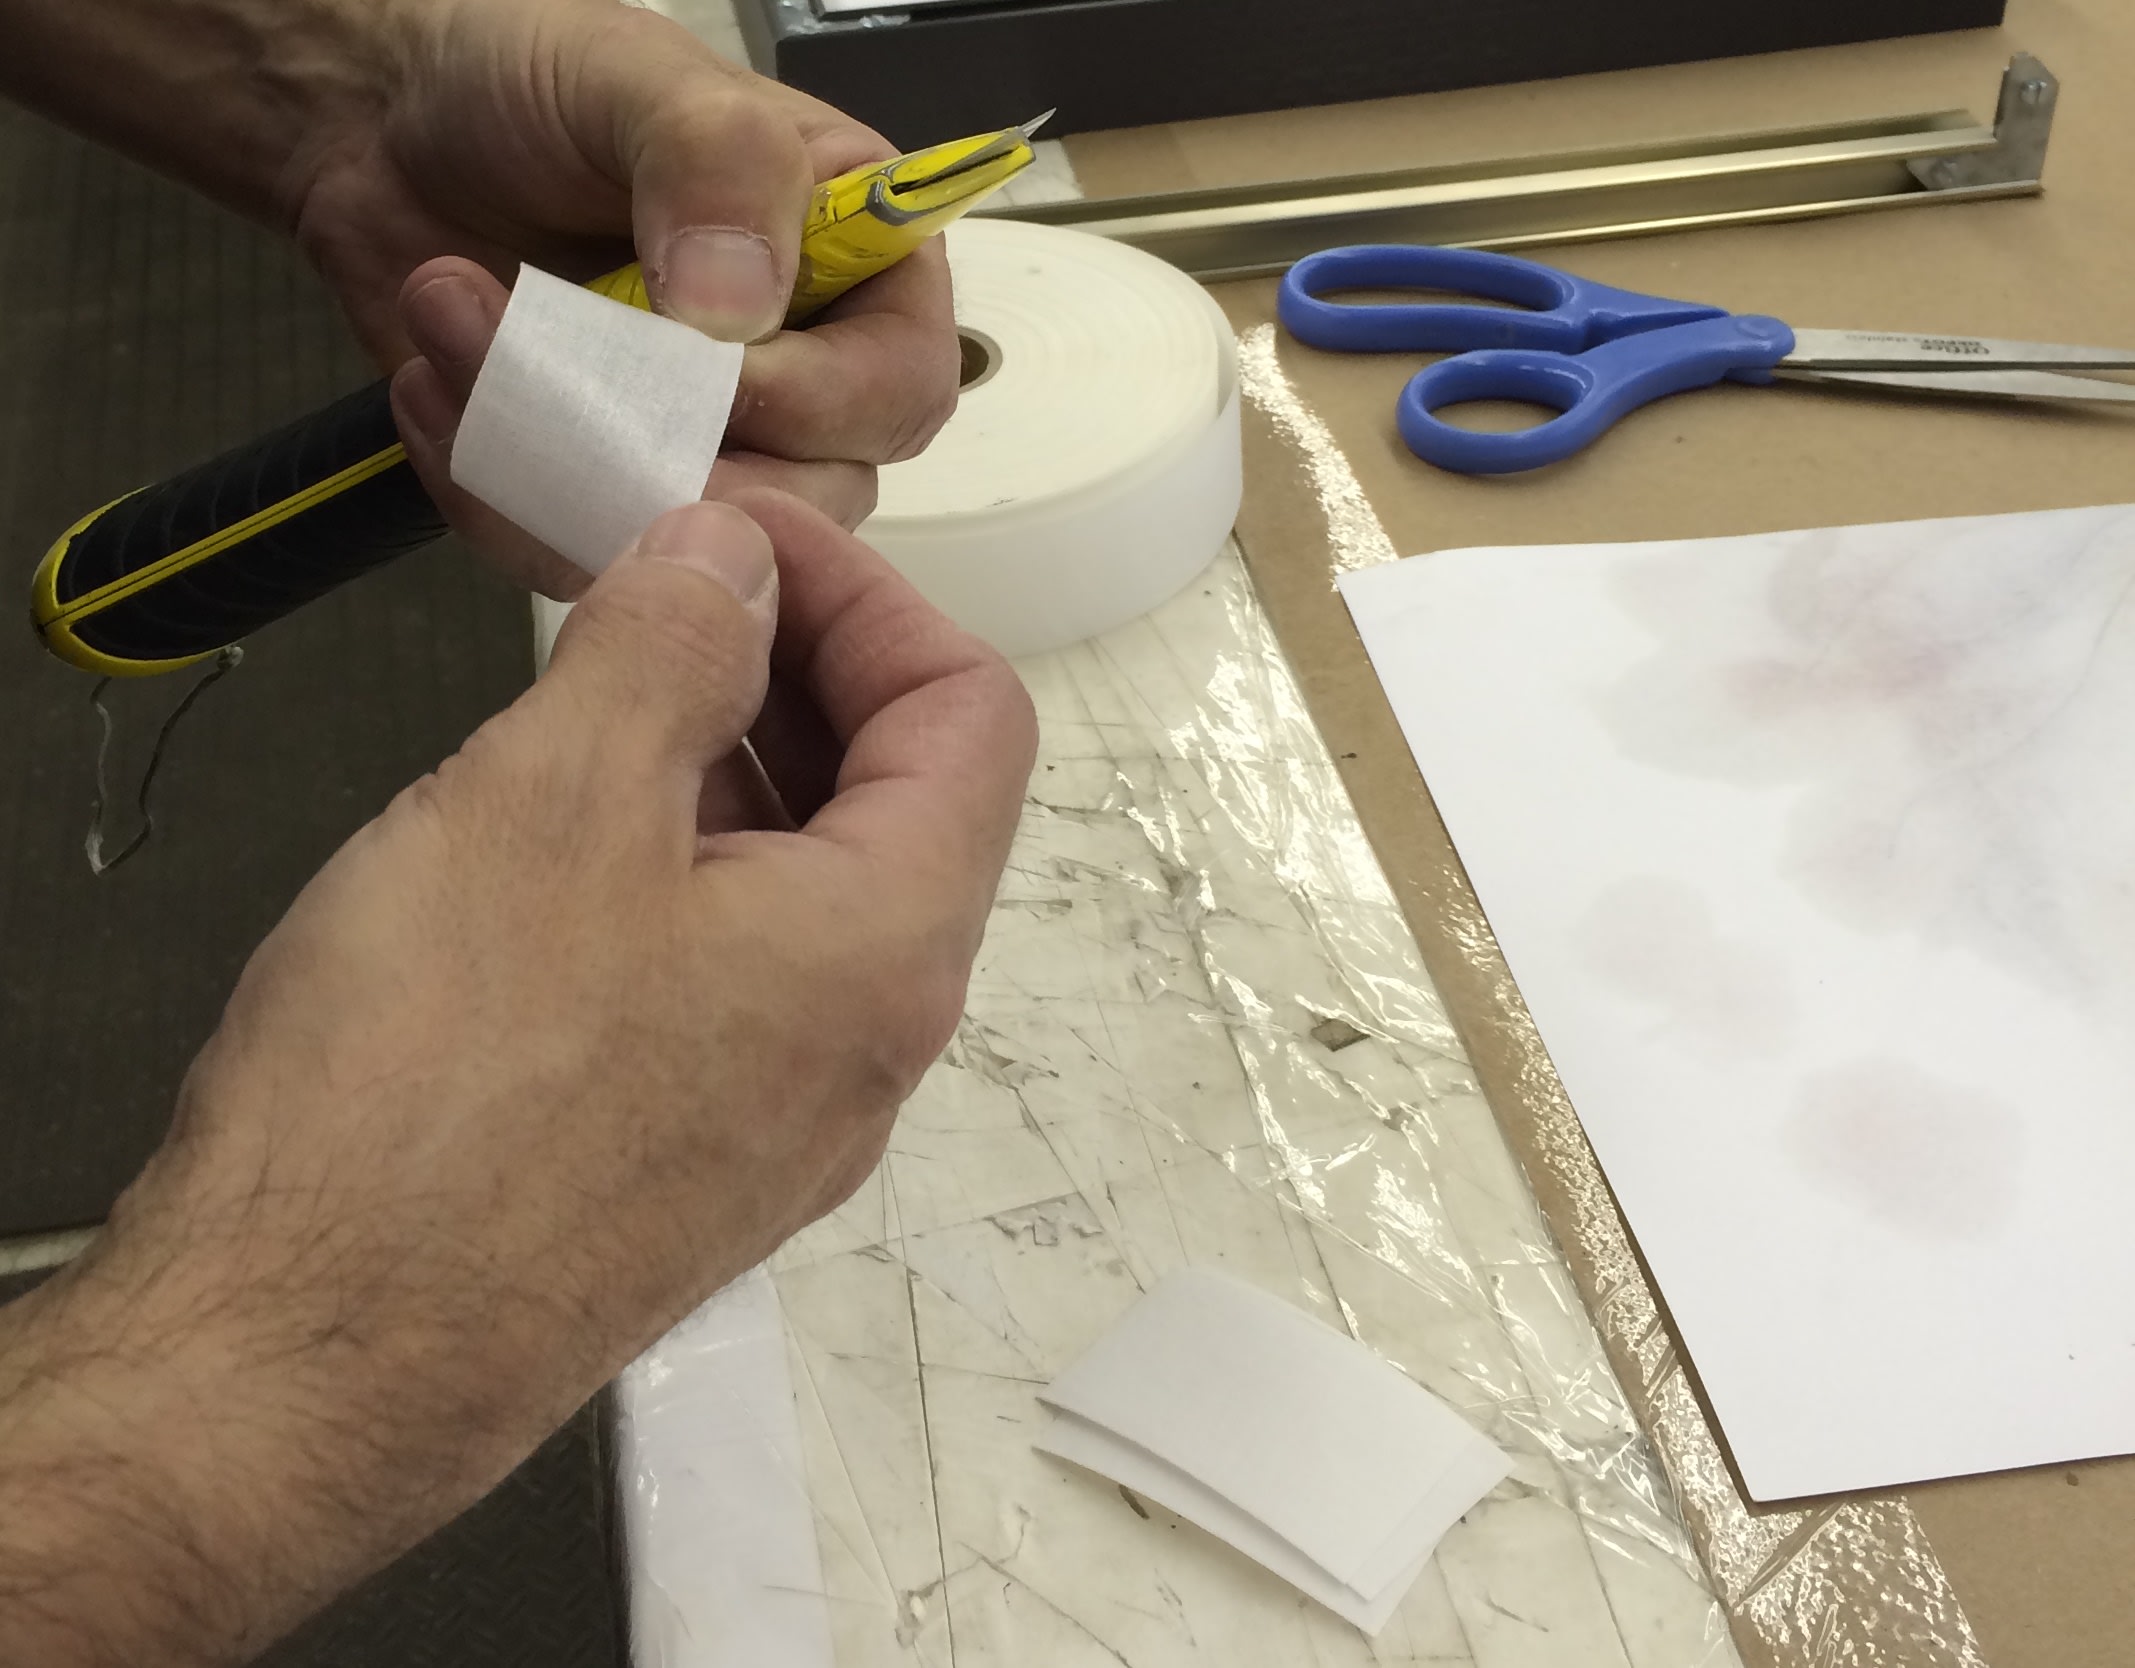
Finally, it’s time to mount using tape for hinging floating artwork
We are using a v-hinge; which looks exactly like the t-hinge, except the tape is completely hidden under the artwork.
When you hinge artwork it’s preferable to hinge the top only, allowing the bottom to hang free. This allows the paper to expand and contract with temperature changes. However, if your paper is warped and just won’t lie flat, you can also add a small hinge at the bottom. Let’s get started!
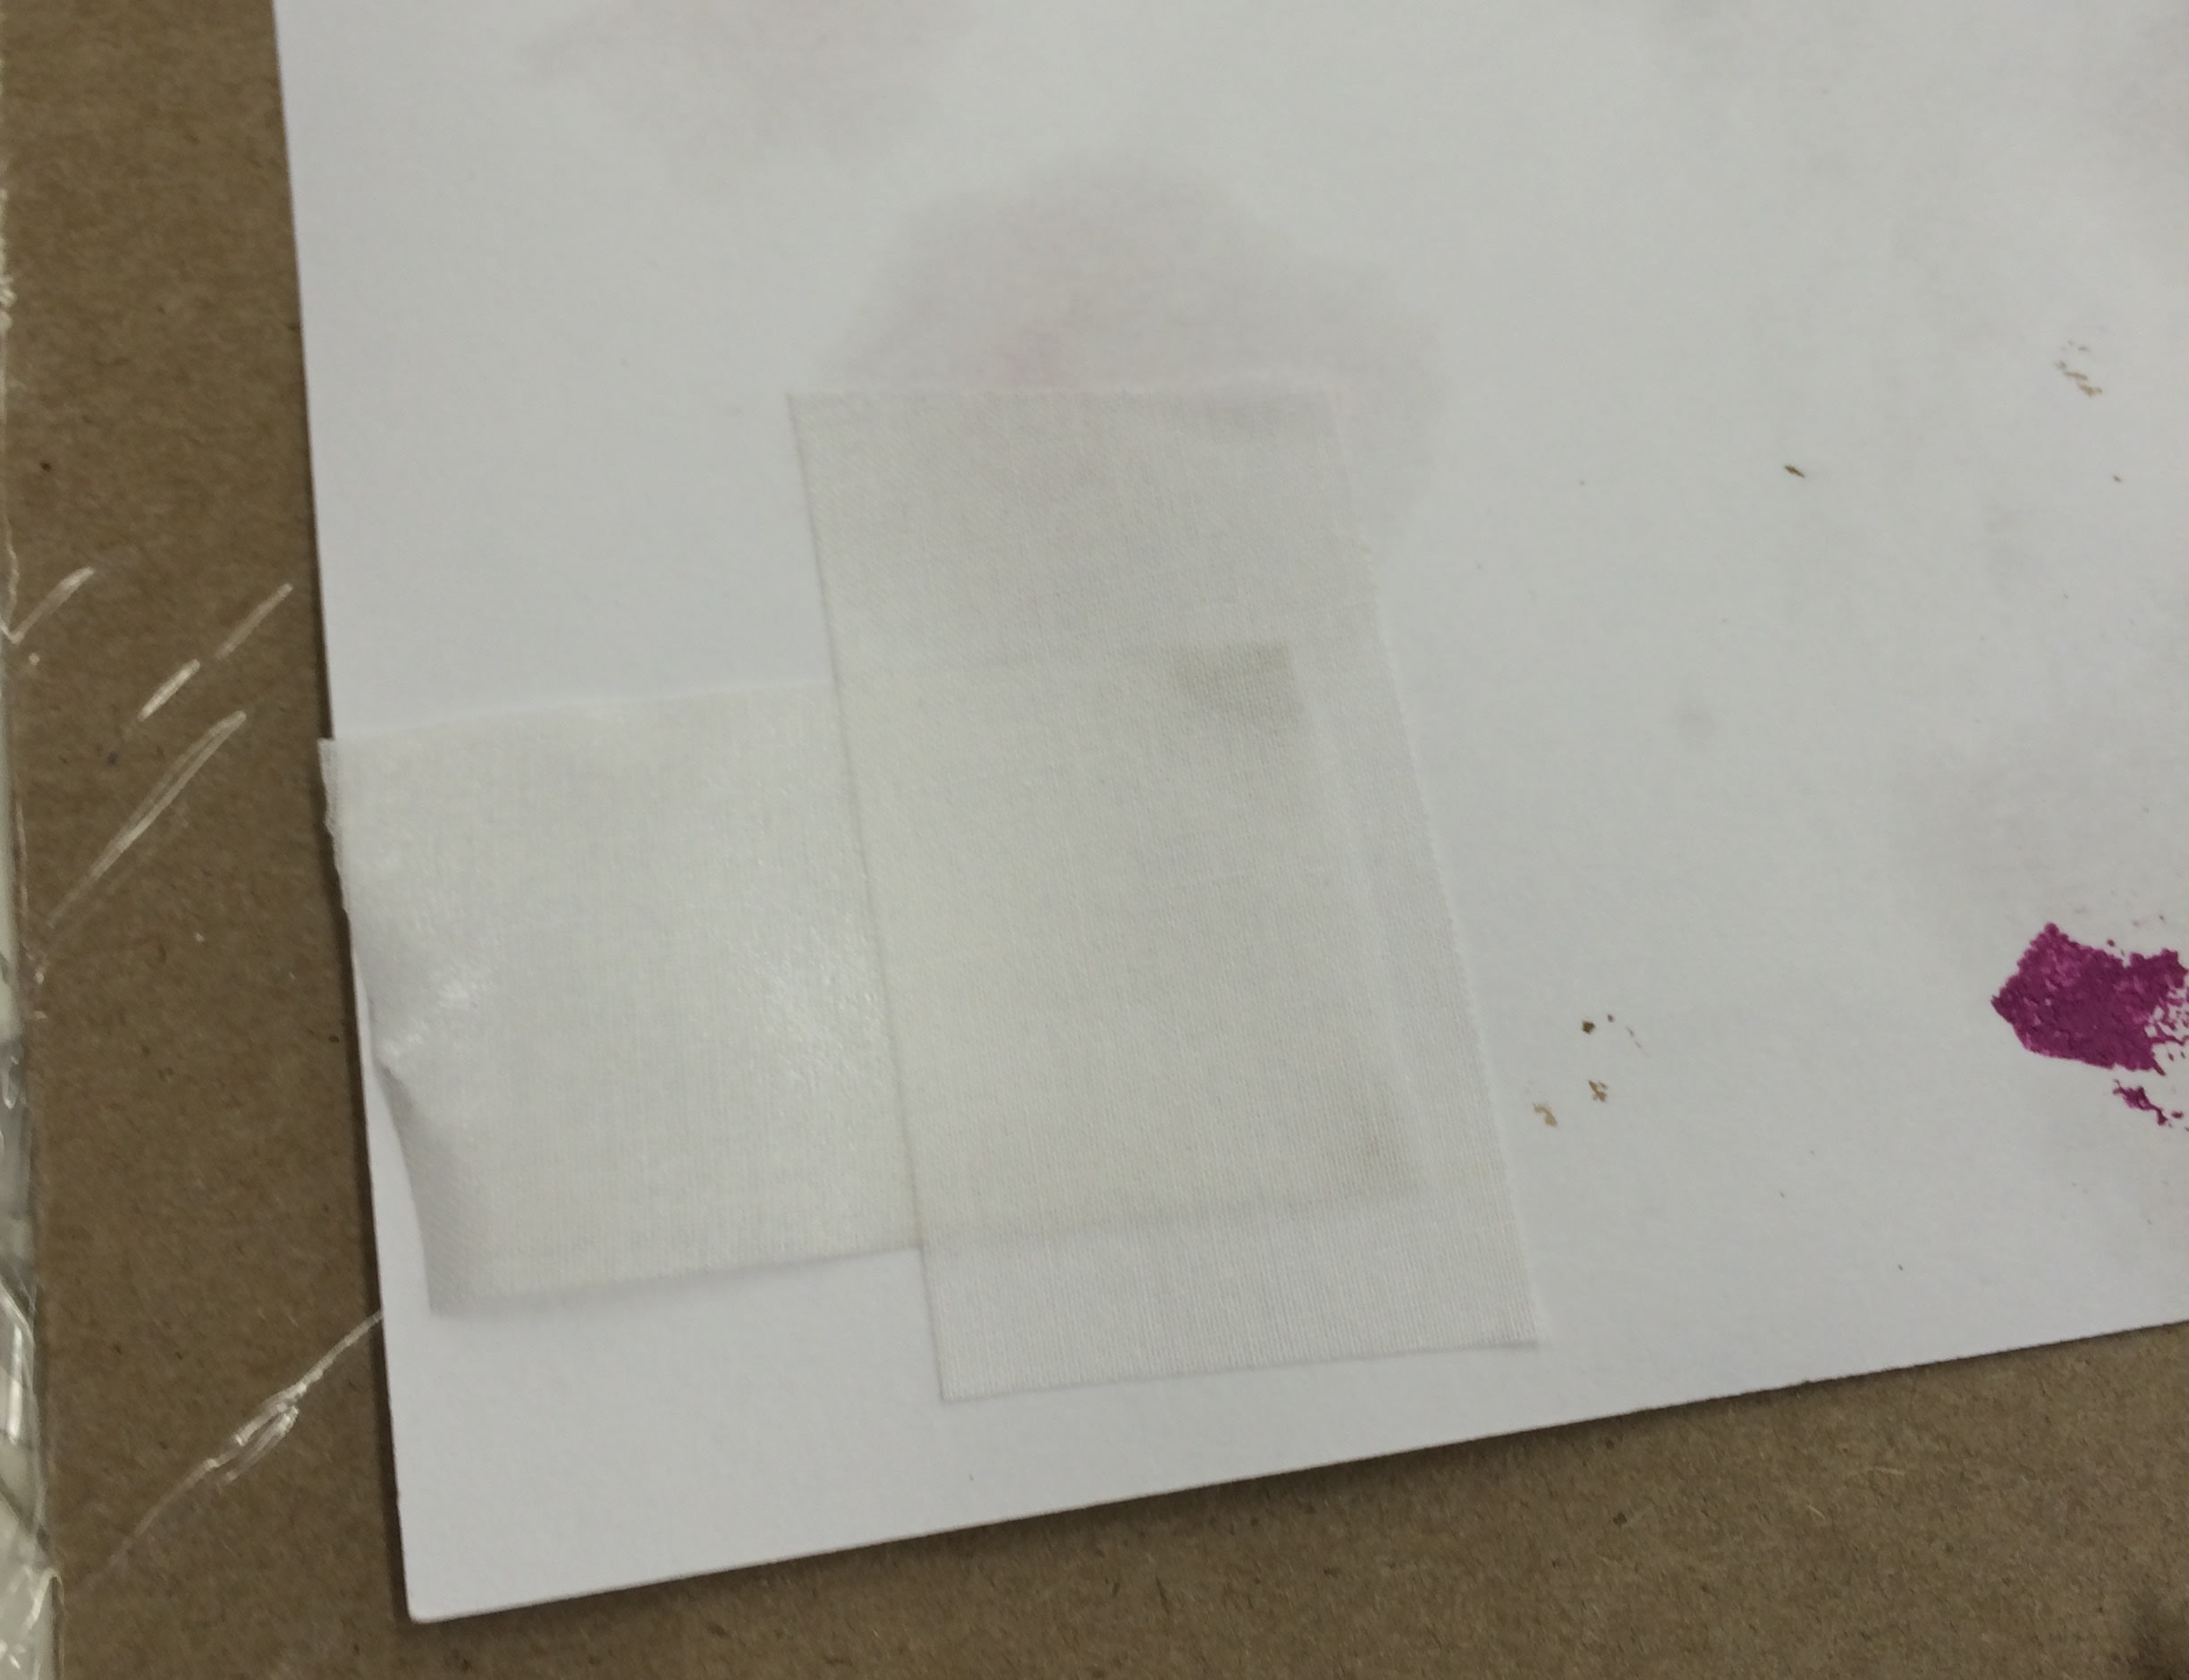
Flip your artwork over keeping the top of the image close to you. Cut 4 strips of Self-Adhesive Linen Hinging Tape. The length of the strips depends on the size of your artwork. If your paper is less than 30 inches, 1 – 4 inches is typically fine.
Make your first hinge; remove the paper backing from one of the strips and place it in the top corner – vertical, with the sticky side UP. Remove the paper backing from a second piece and place it horizontally, sticky side DOWN across the top. It should look like a capital “T”. The bottom edge of the “T” should be slightly lower than the top edge of the paper. Repeat on the other side with the remaining 2 strips of tape.


Closeup of the hinge. *Note – if your paper is very wide, you may need 3 or more hinges across the top.
Flip your artwork over and carefully center it on the uncut matboards. Do not press down on the hinged area until it is properly centered. Using a tape measure to check the border sizes is the most accurate way of centering.

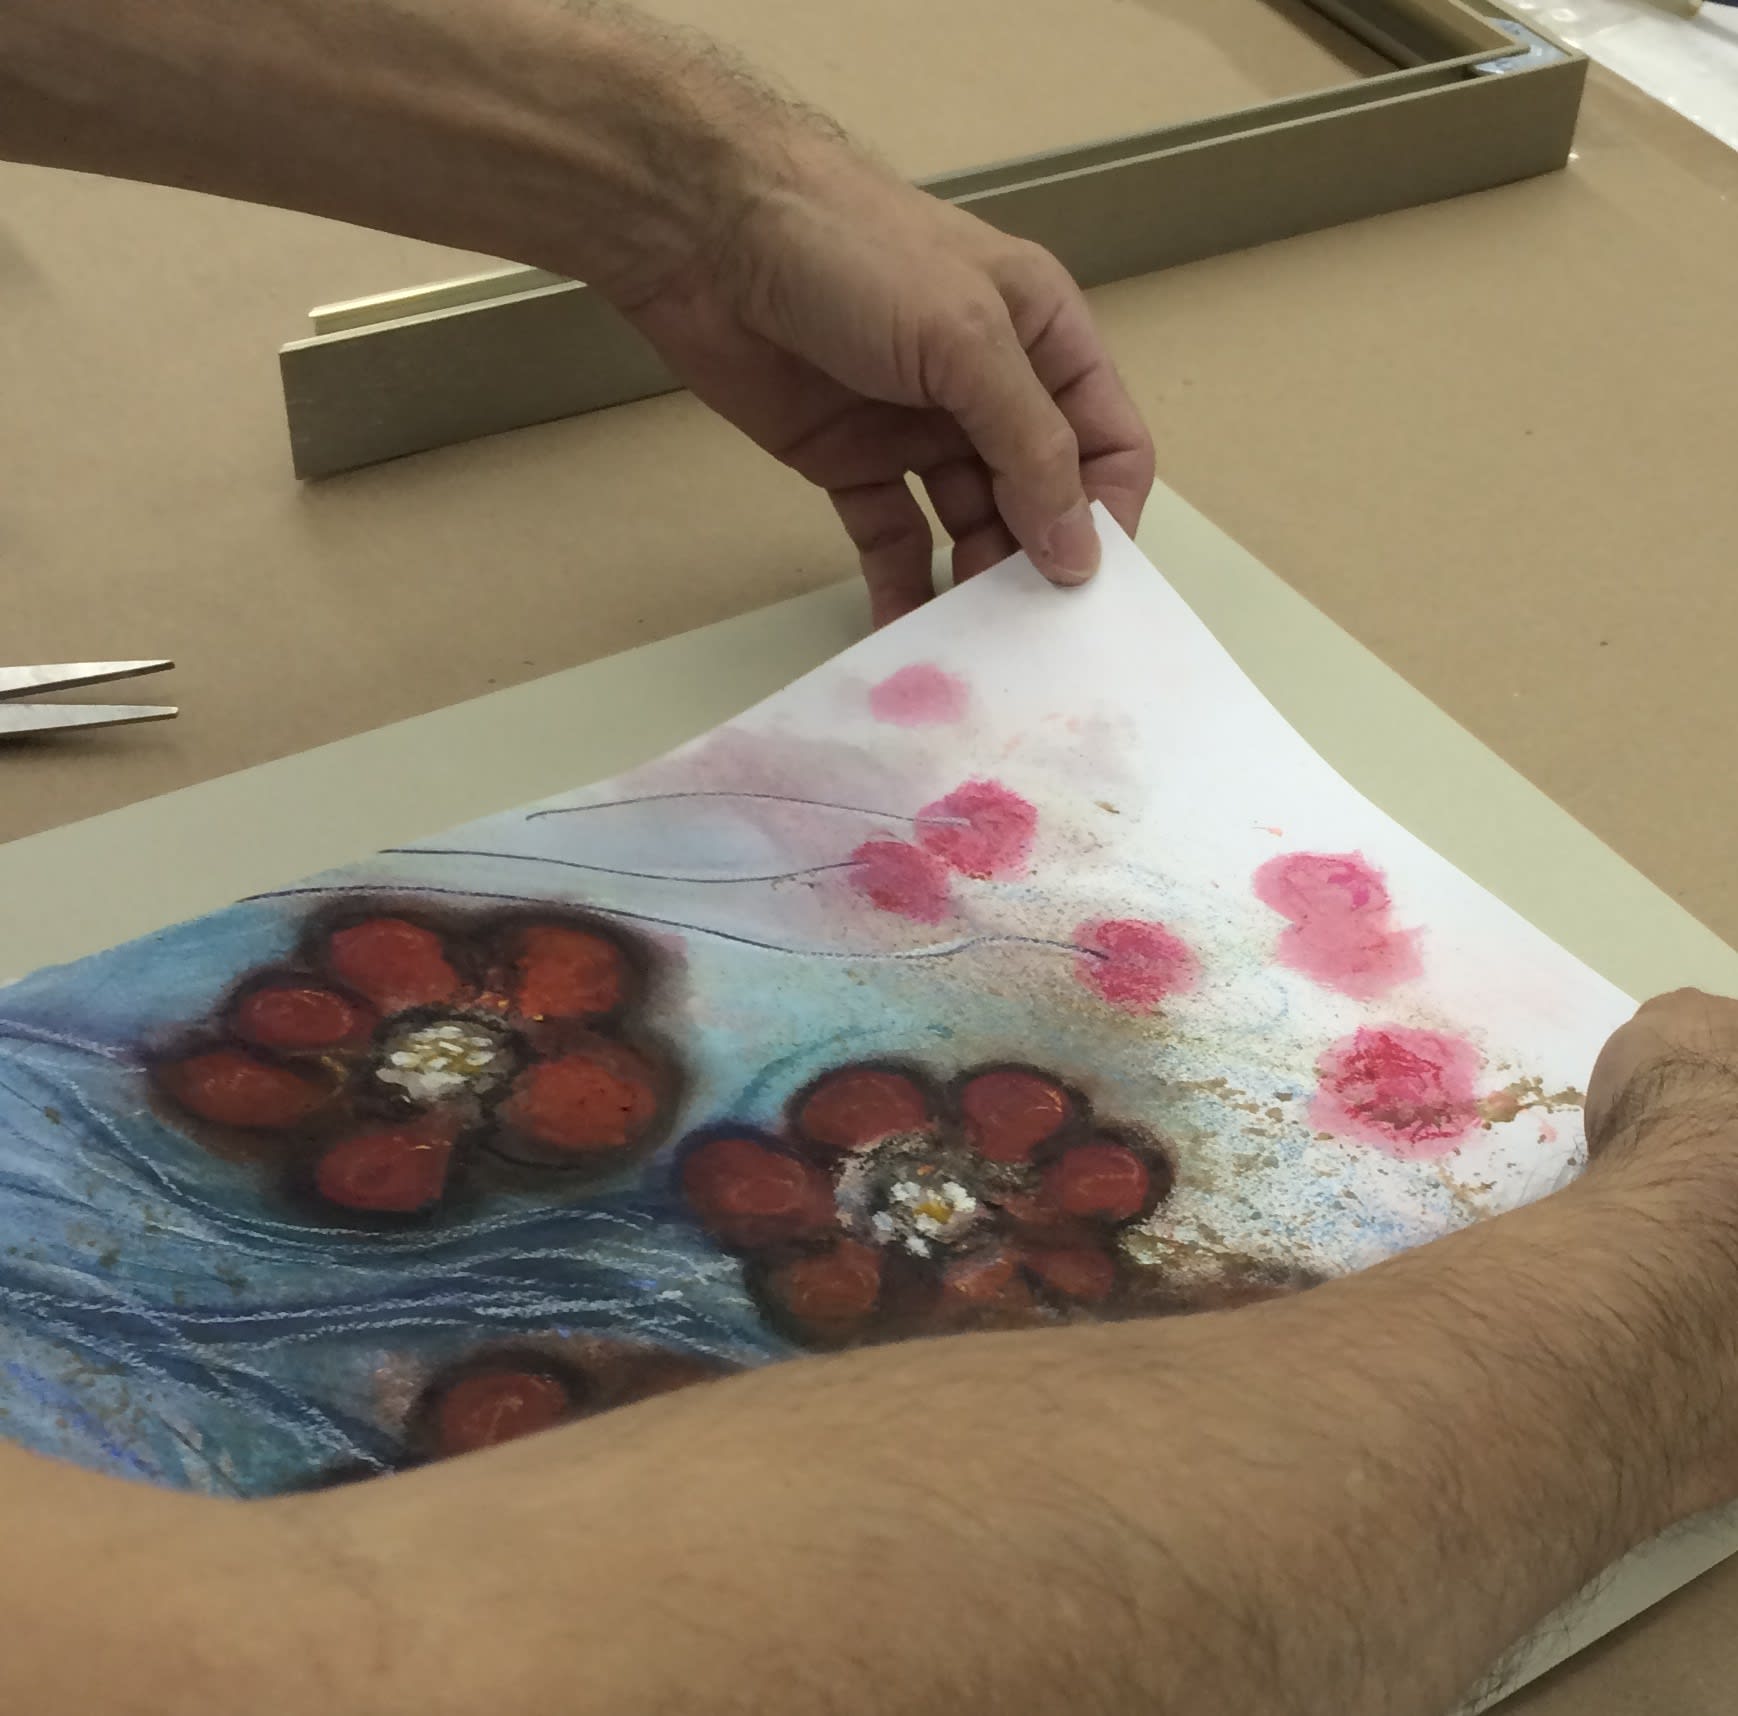
Once your artwork is centered, gently smooth the top edge of paper to create the adhesion.

Frame your floated artwork in your favorite wood or metal picture frame!
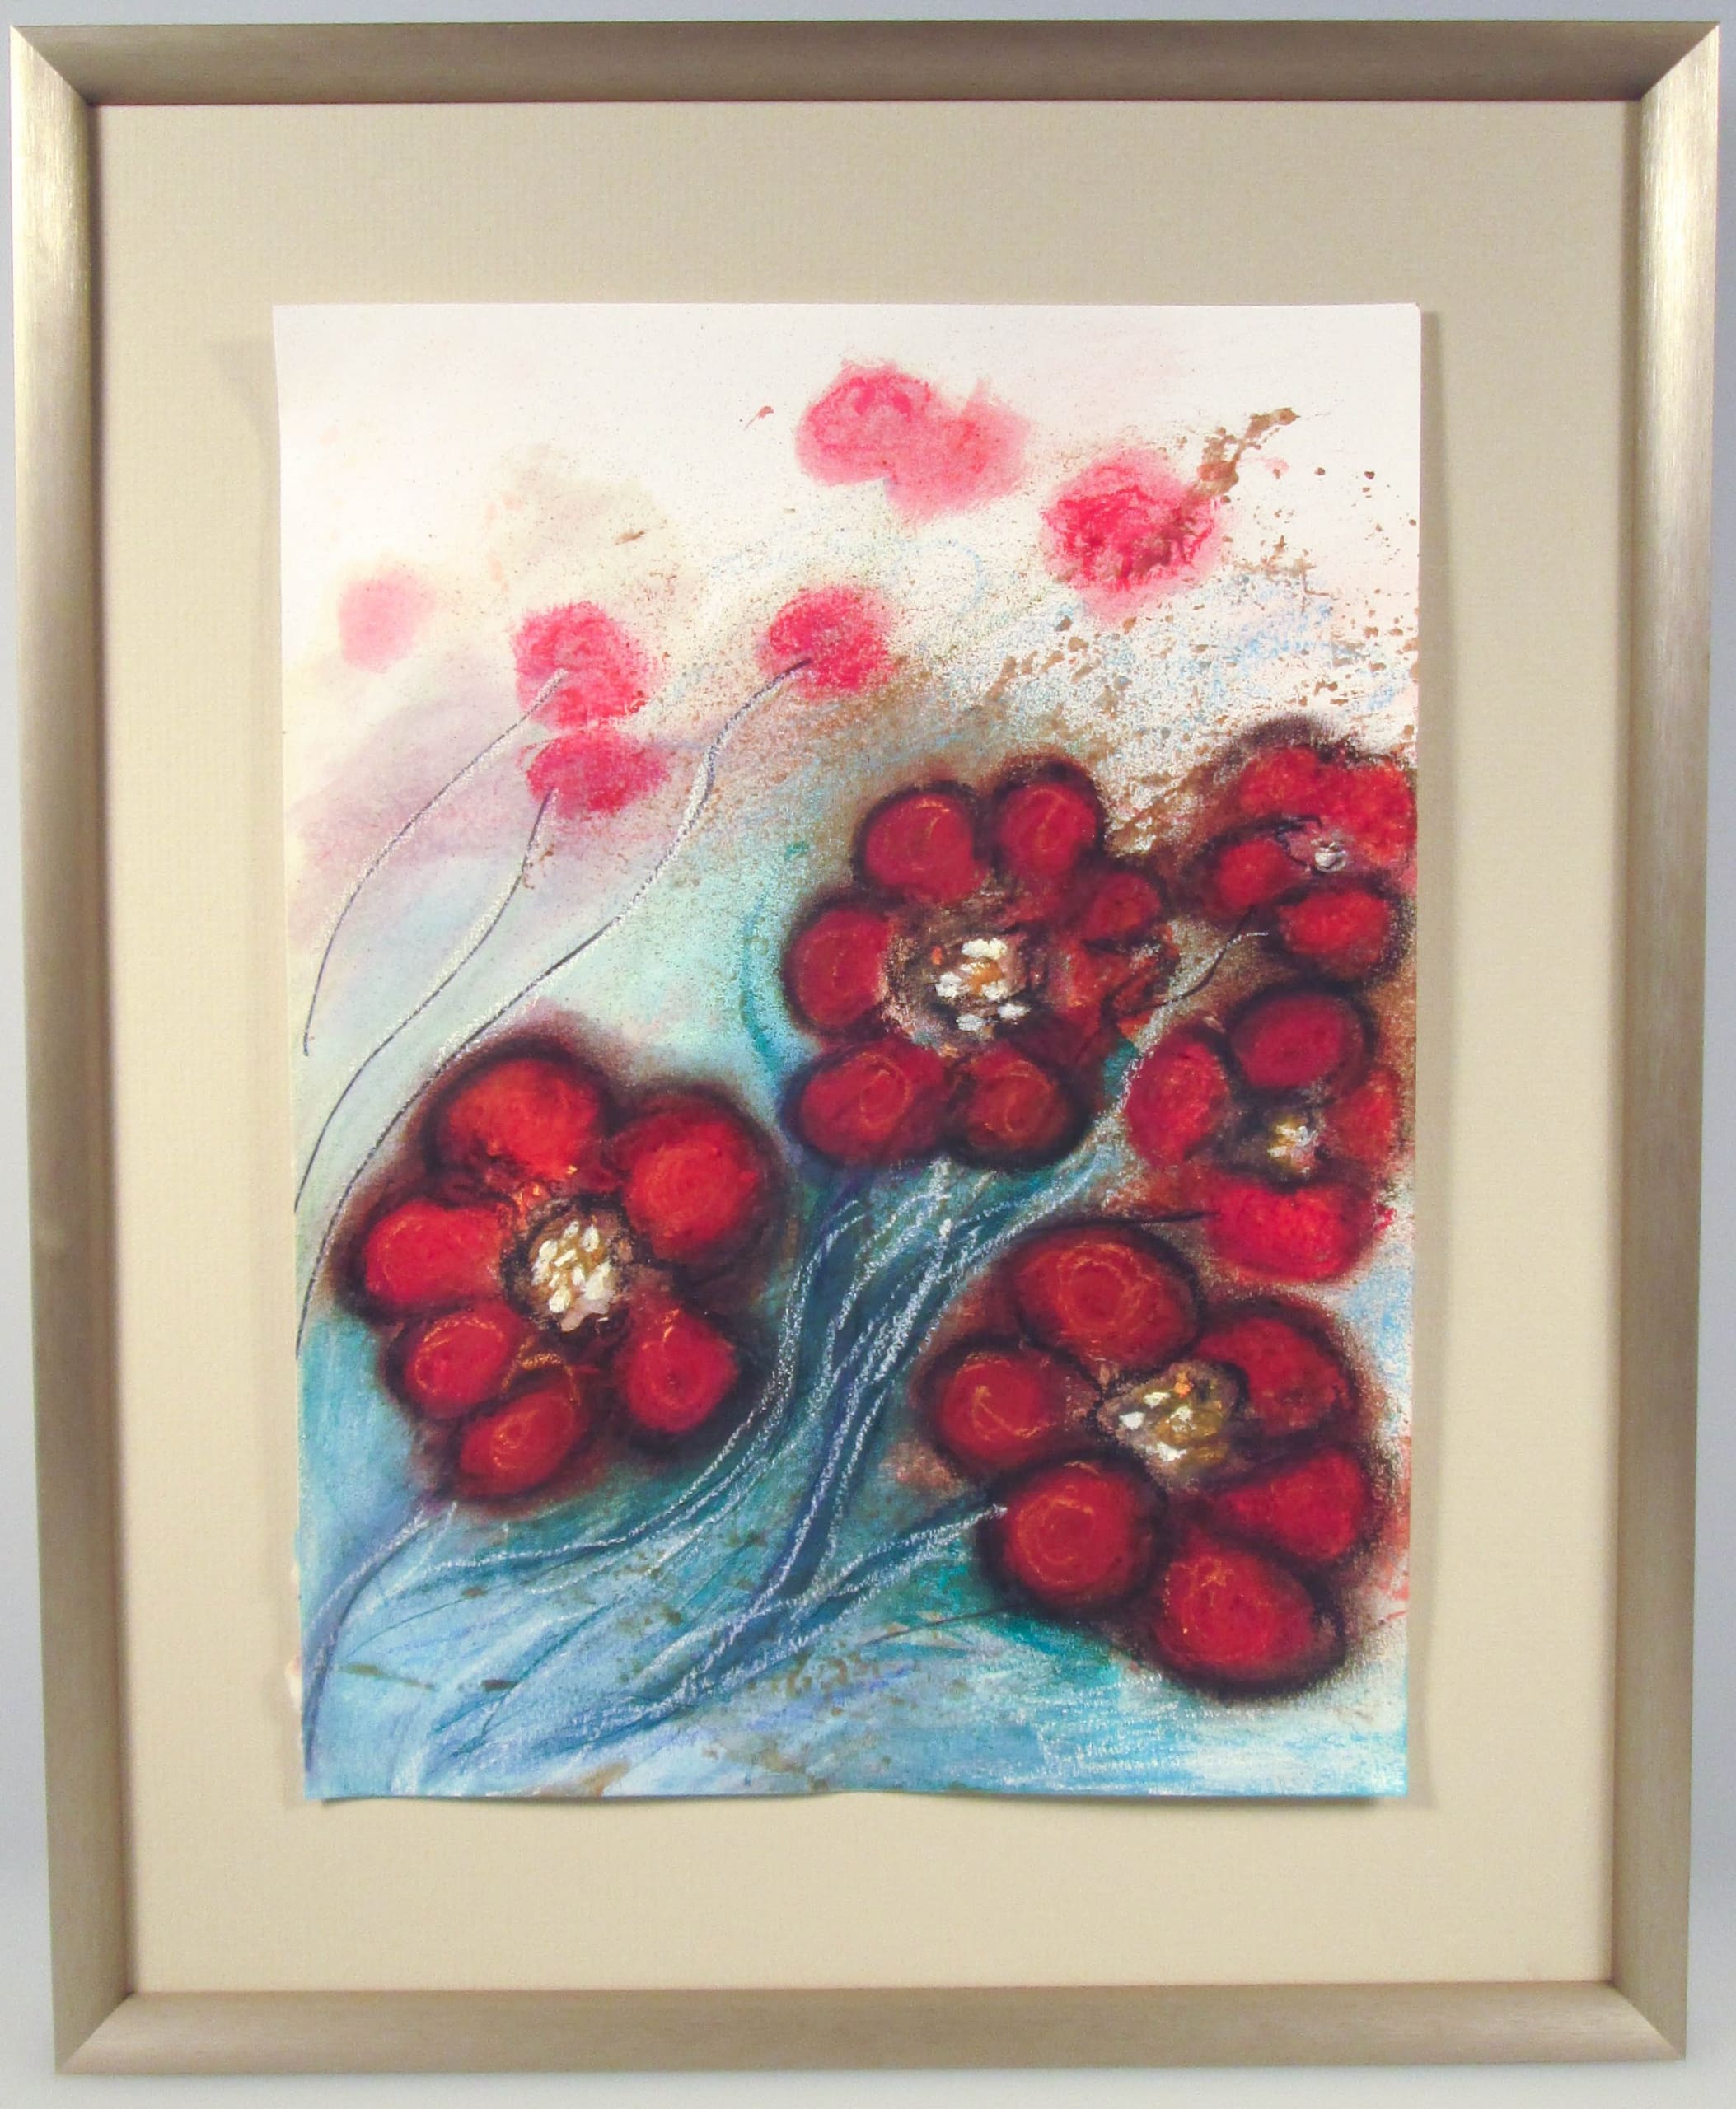
Products We Used
Uncut Mat Board – Bainbridge 4-ply Alphamat in Mimosa
Frame – Nielsen Profile 24 in Brushed Satin German Silver