Emily Jones is a young Texas-based artist specializing in whimsical watercolor images. She’s also a newbie to DIY picture framing and was kind enough to write a blog post for us detailing her experiences with our website and products. Check out more of her artwork at Emily Erin Studios.
Hello, my name is Emily Jones and I am the creator of Emily Erin Studios, where I specialize in custom watercolor prints. I started doing art as a stress reliever and sold only a few pieces. After a while, a bunch of people wanted to buy my art and have custom prints done, so I created Emily Erin Studios in order to reach more customers. As a young artist, it is hard because I don’t have the education qualifications of an “artist.” But you don't need credentials to do what you love, especially if others enjoy your work.
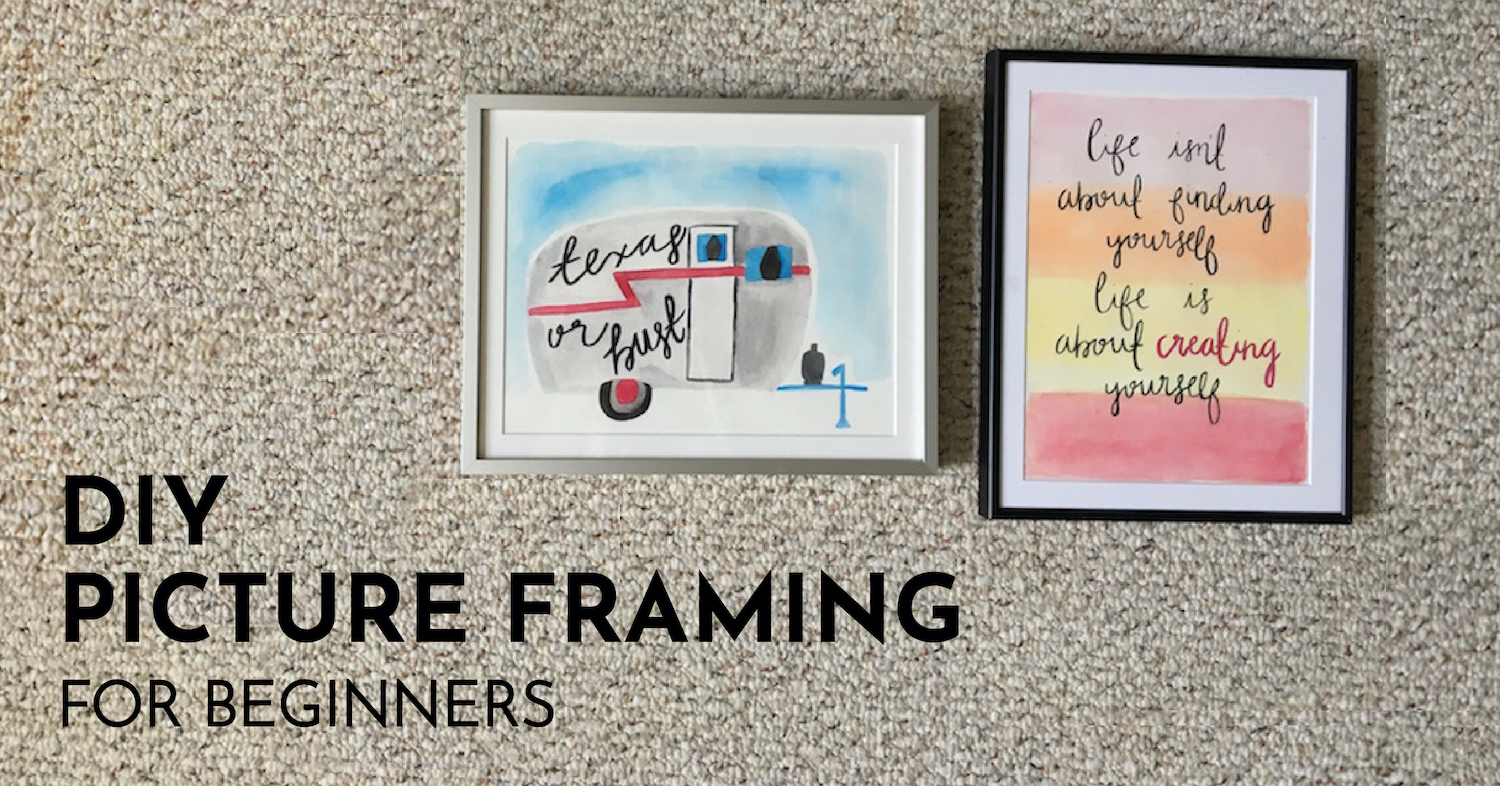
Moving forward with my art, I realized my prints were missing something – frames! A print by itself is just art on a page, just a flimsy piece of paper with watercolor on it. When you add a frame, you are displaying the art; you are showing it off. I have never worked with frames before, I was nervous about ordering the wrong size or the wrong mat color. I wanted to make my art POP and display it with pride. I went to Frame Destination for my first experience with frames and let me tell you, it was awesome! I'll start with the online experience then go into the shipping, packaging, the frames themselves, and my overall experience.
Ordering Custom Frames Online
Frame Destination's online ordering rocks. It was so easy to navigate and find what I needed. You just pick which material you want and you can order it in a package that comes with the frame, the backing, the matting and the glazing. It was so convenient to order it all in a set; I could just take my art piece, put it in the frame, and BOOM I’m done. I am super awful with measurements, but all you have to do is put in the size of your print and it has pre-set measurements for you. Next, I selected the type of mat and the color. For choosing the color of the mat, I just wanted what would look best with my print, so ordered a sand color for one and two different shades of white for the others. I did this for all three of my picture frames and I placed my order within 20 minutes. Easy!
(Editor's Note: We have a new instructional video that helps first time customers order a custom frame that perfectly suits their needs. To order a standard-size frame in just a few clicks, try our easy Find-A-Frame picture frame ordering option.)
Shipping
I selected the ground shipping, so I did not rush my package at all but it still arrived incredibly fast.
Not only was the shipping quick, but I received all of my items in great shape. Nothing was missing and nothing was broken. The one concern I had about ordering frames was that maybe the acrylic glass would break or scratch along the way, but it was perfectly wrapped so no mistakes were made. The pictures below, you'll see the packaging and the items I received.


The Frames
Now let’s talk about the frames. For such a great price I wasn’t expecting the quality I received. The frames themselves are gorgeous. They were absolutely flawless, made with excellent craftsmanship. Nothing was chipped or made cheaply.
I ordered the Nielsen Profile 15 (matte black), the Wood Frame Profile 500 (walnut), and the Nielsen Profile 117 (frosted silver). They have such a huge selection to choose from online, I ordered just a few basic ones because I really wasn’t looking for a huge fancy frame, but they have them if that is what you need. The complete frame set includes the frame itself, the mat board (in your choice of brand, ply and color), the glazing (acrylic or glass with a variety of finish options), the foam for the back, and backing so you can hang your frame. The wood frame was just an easy pull out and put in; you pull up the back, position your print, and pop the back into place. For the metal frame I chose, however, you must remove spring clips and then unscrew one side of the frame and slide your piece in there. Thankfully there were detailed instructions on how to do this because, if you’re like me and have never used a screwdriver before, you may have had trouble if there were no instructions.

Final Thoughts
My overall experience with Frame Destination was incredible. Everything was just so easy and convenient, the quality was breathtaking, and the people of the company were truly splendid to work with. Whether you are a beginner and have no idea what you’re doing or you’re a master and need something to display your work, Frame Destination meets every need. I am going to come to Frame Destination for all of my framing needs, they gave my artwork exactly what it needed to feel complete. - Emily Jones
Written by Joely Rogers
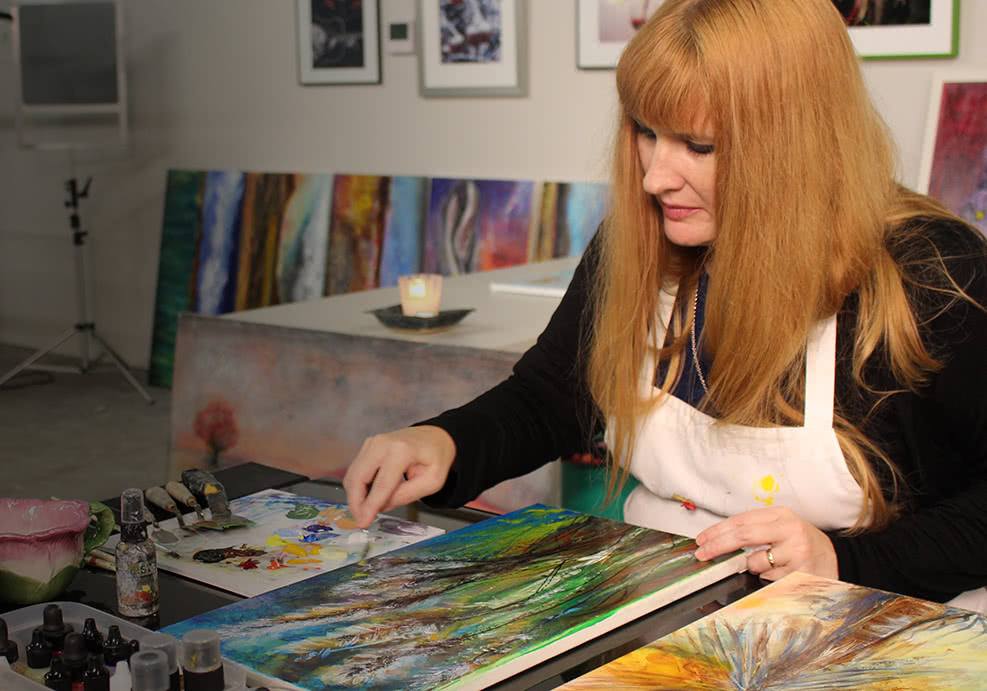 Joely C. Rogers is an artist/illustrator and writer living in the mountains of western North Carolina. She has professional training in both natural science illustration and the culinary arts, as well as graduate academic training in education, sociolinguistics, and folklore/storytelling. She is a Blue Ridge Naturalist candidate with the North Carolina Arboretum and a member of the Guild of Natural Science Illustrators.