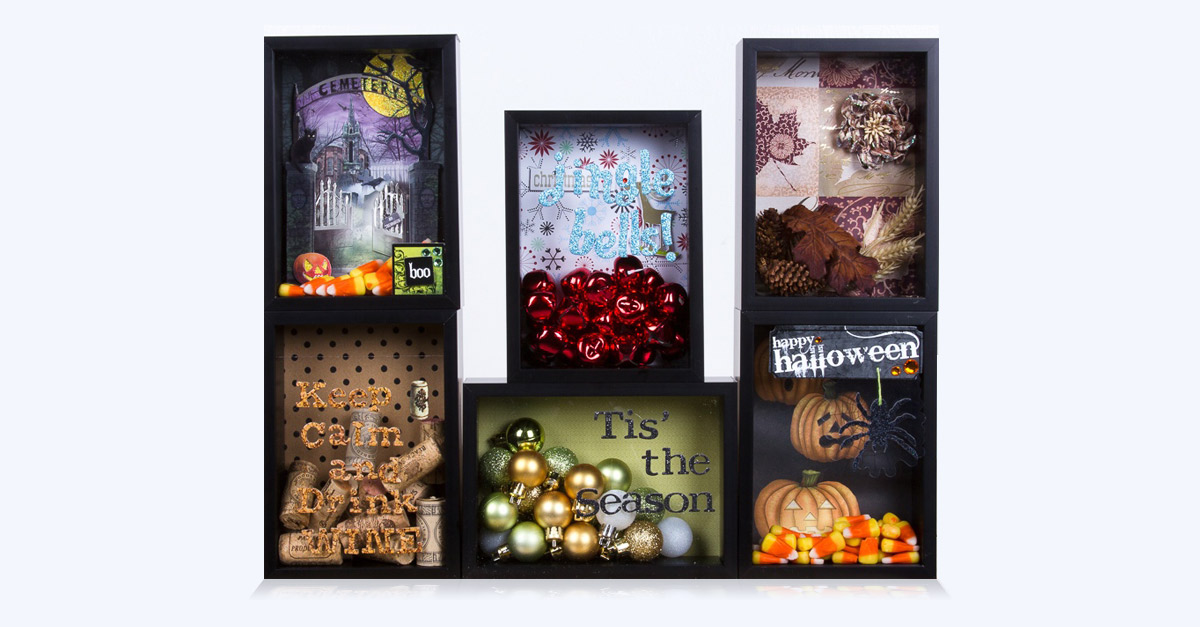
Cooler weather brings out the crafty girl in me! Recently, I decided to try my hand at making a holiday shadow box. A shadow box is a fully enclosed, deep frame (also referred to as a shadow box frame) that you put objects inside rather than artwork or photos. Shadow boxes are often wide enough to stand on their own if you want to place it on a mantel or table. Small shadow boxes can also be hung on the wall like art.
When making a shadow box, you typically pick a theme to guide you. You can make year-around shadow boxes (using wine corks is a popular trend right now), or make holiday themed ones to decorate with. Once you have your theme, the shadow box usually consists of a themed background, filler objects, and sometimes a message.
Today’s example uses Halloween-themed items – pumpkin paper, spooky stickers, and candy corn. You can adapt this to any holiday or event by just switching out the paper, stickers, and filler items.
DIY Shadow Box Supplies
To make your own shadow box, you’ll need:
- A deep frame that completely closes with a backing board and glass front
- Craft paper that fits your theme and is the same size as your frame
- Filler items that match your theme
For my shadow box, I’m using a Nielsen Profile 100 picture frame. This frame is 1 11/16” deep, making it perfect for this fun project. You’ll want to be sure you choose a frame that is deep enough to fit whatever you’re planning to use as filler. Christmas ornaments are a popular shadow box filler, but can be wide – so be sure you choose smaller filler items and a frame deep enough to fit.
I picked 5x7 for the size because you can quickly make a lot of decorative shadow boxes for very little cost. This is a great size if you’re using shadow boxes as a craft activity for kids. This popular frame size is affordable and gives kids enough space to be creative without getting too crazy. However, you can get as large as your budget – and vision – allows.
Here’s an image of the supplies for my Halloween-themed shadow box. You’ll see the craft paper I’m using for the back of my shadow box (cut to size for my 5x7 frames), a bag of candy corn for fun 3D filling, and a few stickers to add a little extra “boo” to my box.

Step 1
Remove one side of the frame per the instructions and slide out the foam board backer and glass.
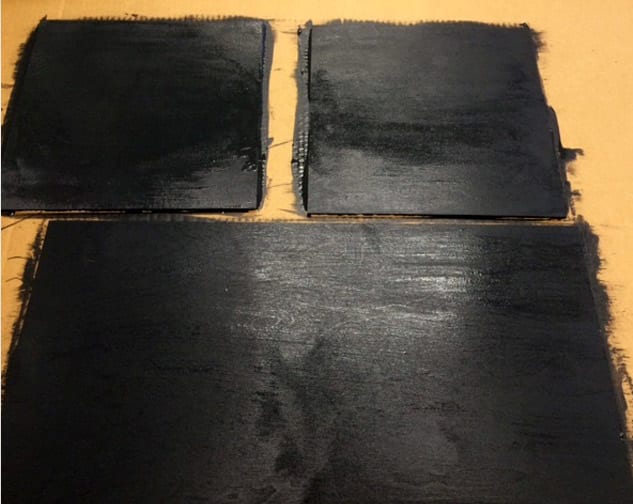
Place your craft paper on top of the foam board. If you plan on leaving this shadow box assembled you can use a craft-safe adhesive to permanently secure the paper to the backing board. If you plan to use the same frame and switch your shadow box fillings with the seasons, you can put a tiny piece of tape across the top to help the paper lie flat while keeping it easily removable.
Apply your decals or stickers to the frame glass. These can be fun theme objects (like the spider in my project) or letters to spell out a message.
Step 2
Slide your foam board (with your paper facing front!) and glass back into the frame.
Turn the frame so that the opening is facing up and add your 3D fillers (like my candy corn in this photo).
Step 3
Place the side back onto the frame and rotate the frame so that it’s facing the right way (if necessary). Give it a gentle shake to align everything to your liking and then display your amazing shadow box!

A Shadow Box for Every Season
Fair warning, this craft can be addicting! Once you make your first shadow box you may find yourself wishing the next holiday was already here so you can make another one.
If you’re making holiday shadow boxes, make them all the same size so you can simply swap them out in the same location as the season changes. For this, order your frames in bulk to get a discount and ensure they all match. Then, you can make all the boxes as once or stretch it out into a fun year-long crafting project.
Here are a few additional examples of other shadow boxes I made using this same method. The possibilities are truly endless!