Guide to Picture Frame Sizes
Learn about the different sizes of picture frames and how to choose the right one for your artwork.
Although most standard picture frame sizes match the most common photo printing sizes, picture frames come in a wide variety of sizes, orientations, and dimension styles to fit any size picture, allow for different styles of picture frame mats and sizes, and help you achieve your ideal framing look.
The most popular size picture frames naturally match the most common photo printing sizes. These common frame sizes include 4x6, 5x7 and 8x10.


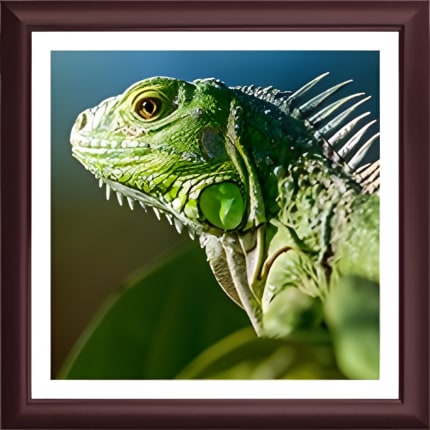
Standard Frame Sizes
Our mat opening sizes are shown. Most off the shelf picture frames with mats have a smaller window (such as 4.5" x 6.5" for 5" x 7") that covers more of the image.
| Frame Size | Mat Opening | Image Size | |
|---|---|---|---|
| 8" x 10" | 3.75" x 5.75" | 4" x 6" | Browse Products |
| 5" x 7" | No Mat | 5" x 7" | Browse Products |
| 8" x 10" | 4.75" x 6.75" | 5" x 7" | Browse Products |
| 8" x 10" | No Mat | 8" x 10" | Browse Products |
| 11" x 14" | 7.75" x 9.75" | 8" x 10" | Browse Products |
| 8.5" x 11" | No Mat | 8.5" x 11" | Browse Products |
| 11" x 14" | 7.25" x 10.75" | 8.5" x 11" | Browse Products |
| 11" x 14" | No Mat | 11" x 14" | Browse Products |
| 11" x 17" | No Mat | 11" x 17" | Browse Products |
| 13" x 19" | No Mat | 13" x 19" | Browse Products |
| 16" x 20" | 10.75" x 13.75" | 11" x 14" | Browse Products |
| 16" x 20" | No Mat | 16" x 20" | Browse Products |
| 18" x 24" | No Mat | 18" x 24" | Browse Products |
| 20" x 24" | 17.75" x 19.75" | 16" x 20" | Browse Products |
| 20" x 30" | No Mat | 20" x 30" | Browse Products |
| 24" x 36" | No Mat | 24" x 36" | Browse Products |
- Frame Size
- 8" x 10"
- Mat Opening
- 3.75" x 5.75"
- Image Size
- 4" x 6"
- Frame Size
- 5" x 7"
- Mat Opening
- No Mat
- Image Size
- 5" x 7"
- Frame Size
- 8" x 10"
- Mat Opening
- 4.75" x 6.75"
- Image Size
- 5" x 7"
- Frame Size
- 8" x 10"
- Mat Opening
- No Mat
- Image Size
- 8" x 10"
- Frame Size
- 11" x 14"
- Mat Opening
- 7.75" x 9.75"
- Image Size
- 8" x 10"
- Frame Size
- 8.5" x 11"
- Mat Opening
- No Mat
- Image Size
- 8.5" x 11"
- Frame Size
- 11" x 14"
- Mat Opening
- 7.25" x 10.75"
- Image Size
- 8.5" x 11"
- Frame Size
- 11" x 14"
- Mat Opening
- No Mat
- Image Size
- 11" x 14"
- Frame Size
- 11" x 17"
- Mat Opening
- No Mat
- Image Size
- 11" x 17"
- Frame Size
- 13" x 19"
- Mat Opening
- No Mat
- Image Size
- 13" x 19"
- Frame Size
- 16" x 20"
- Mat Opening
- 10.75" x 13.75"
- Image Size
- 11" x 14"
- Frame Size
- 16" x 20"
- Mat Opening
- No Mat
- Image Size
- 16" x 20"
- Frame Size
- 18" x 24"
- Mat Opening
- No Mat
- Image Size
- 18" x 24"
- Frame Size
- 20" x 24"
- Mat Opening
- 17.75" x 19.75"
- Image Size
- 16" x 20"
- Frame Size
- 20" x 30"
- Mat Opening
- No Mat
- Image Size
- 20" x 30"
- Frame Size
- 24" x 36"
- Mat Opening
- No Mat
- Image Size
- 24" x 36"
Choosing Frame Sizes with Matboard
If you order a picture frame that is the exact size of your print, there will be no room for a mat and the photo will take up the entire frame space. If you'd like to offset your photo with a mat or several mat layers you'll need to get frame sizes that are larger than your printed photo.
Frame Destination carries several of your typical frame sizes that fit common photo sizes while allowing for a matboard. If your desired size picture frame is not listed below, we make it easy at Frame Destination to get your own frame dimensions and order a custom frame.
| Image Printing Size | Inkjet Paper Size |
|---|---|
| 4" x 6" | 4" x 6" |
| 5" x 7" | 5" x 7" |
| 6" x 9" | 8" x 10" |
| 8" x 10" | 8" x 10" |
| 8" x 12" | 11" x 14" |
| 10" x 12" | 11" x 14" |
| 10" x 15" | 11" x 17" |
| 11" x 14" | 13" x 19" |
| 11" x 17" | 17" x 22" |
| 12" x 15" | 17" x 25" |
| 12" x 18" | 13" x 19" |
| 16" x 20" | 17" x 22" |
| 16" x 24" | 17" x 25" |
Square Picture Frames
Square picture frames create a clean, modern look that's different than traditional rectangular frames. Frame Destination supplies the following square frame dimensions:
Panoramic Picture Frames
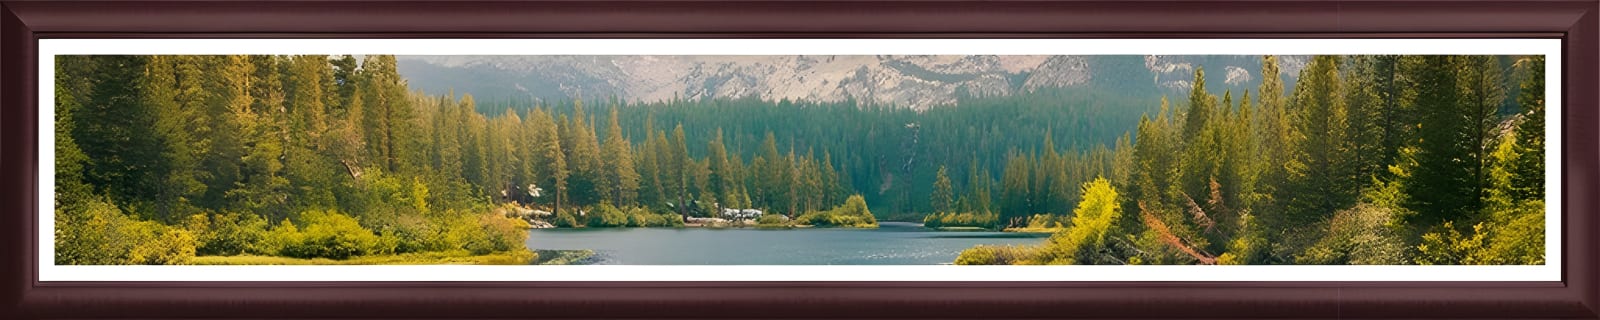
Panoramic artwork and photos are a natural focal point and instantly draw all attention when people enter a room. Framing your panoramic art both protects it and adds a "finished" look. Frame Destination makes it easy to find a panoramic frame in any size and offers panoramic frames with mat boards.
| Artwork Size | Frame Size | Easy-order* | |
|---|---|---|---|
| 4" x 12" | 8" x 16" | Yes | Browse |
| 4" x 20" | 8" x 24" | Yes | Browse |
| 5" x 15" | 10" x 20" | Yes | Browse |
| 6" x 12" | 11" x 17" and 12" x 18" | No | Browse |
| 6" x 18" | 12" x 24" | Yes | Browse |
| 8" x 16" | 12" x 20" | No | Browse |
| 8" x 24" | 12" x 28" | Yes | Browse |
| 8" x 32" | 16" x 36" and 13" x 38" | Yes | Browse |
| 10" x 20" | 16" x 26" and 20" x 30" | No | Browse |
| 10" x 30" | 16" x 36" | No | Browse |
| 12" x 24" | 18" x 30" and 20" x 32" | No | Browse |
| 12" x 36" | 16" x 40" | Yes | Browse |
| 16" x 32" | 24" x 40" | No | Browse |
- Artwork Size
- 4" x 12"
- Frame Size
- 8" x 16"
- Easy-order*
- Yes
- Artwork Size
- 4" x 20"
- Frame Size
- 8" x 24"
- Easy-order*
- Yes
- Artwork Size
- 5" x 15"
- Frame Size
- 10" x 20"
- Easy-order*
- Yes
- Artwork Size
- 6" x 12"
- Frame Size
- 11" x 17" and 12" x 18"
- Easy-order*
- No
- Artwork Size
- 6" x 18"
- Frame Size
- 12" x 24"
- Easy-order*
- Yes
- Artwork Size
- 8" x 16"
- Frame Size
- 12" x 20"
- Easy-order*
- No
- Artwork Size
- 8" x 24"
- Frame Size
- 12" x 28"
- Easy-order*
- Yes
- Artwork Size
- 8" x 32"
- Frame Size
- 16" x 36" and 13" x 38"
- Easy-order*
- Yes
- Artwork Size
- 10" x 20"
- Frame Size
- 16" x 26" and 20" x 30"
- Easy-order*
- No
- Artwork Size
- 10" x 30"
- Frame Size
- 16" x 36"
- Easy-order*
- No
- Artwork Size
- 12" x 24"
- Frame Size
- 18" x 30" and 20" x 32"
- Easy-order*
- No
- Artwork Size
- 12" x 36"
- Frame Size
- 16" x 40"
- Easy-order*
- Yes
- Artwork Size
- 16" x 32"
- Frame Size
- 24" x 40"
- Easy-order*
- No
Custom Sizes
With a wide selection of picture frame sizes available and the ability to easily and affordably order a custom picture frame size, your framing possibilities are endless. When framing your photos, decide on your ideal look and choose a picture frame size to match. Then order a custom-cut mat board that matches the frame size and the opening needed to fit your printed photo.
Order Custom Picture FramesShop related frames & mats


